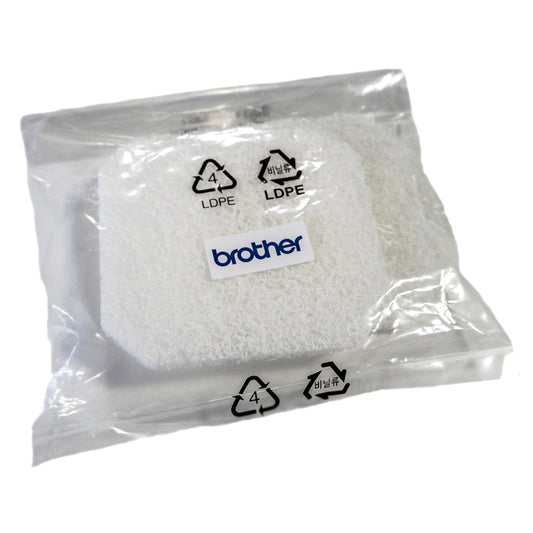
WIPER CLEANER REPLACEMENT PROCEDURE:
Always use the following menu option before powering off to perform cleanings or replace parts:
1. Press Menu → Maintenance → Maintenance Part Clean/Replace → OK.
2. Make sure the printer is in a powered off state and the carriage is moved out of the maintenance area to make space for you to complete the tasks correctly.
- All tasks must be completed within 15 minutes to avoid the print heads drying.
- If the task is going to take longer than 15 minutes, power the printer back on and let it run through its normal startup operations. Once completed, then go back into the "Maintenance Part Clean/Replace" procedure before powering off and continuing your maintenance tasks.
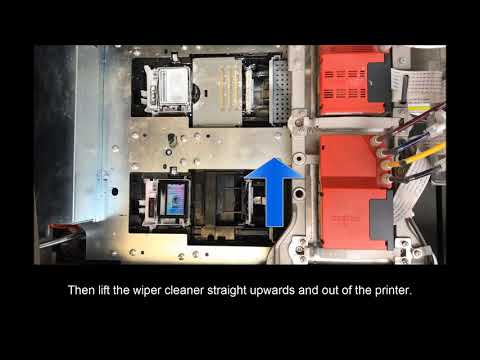
3. Remove the wiper cleaner by wedging your finger into the half circle groove on top of the wiper cleaner and pulling up until it pops up and then simply lift it out.

4. Replace the old wiper cleaners with new ones.
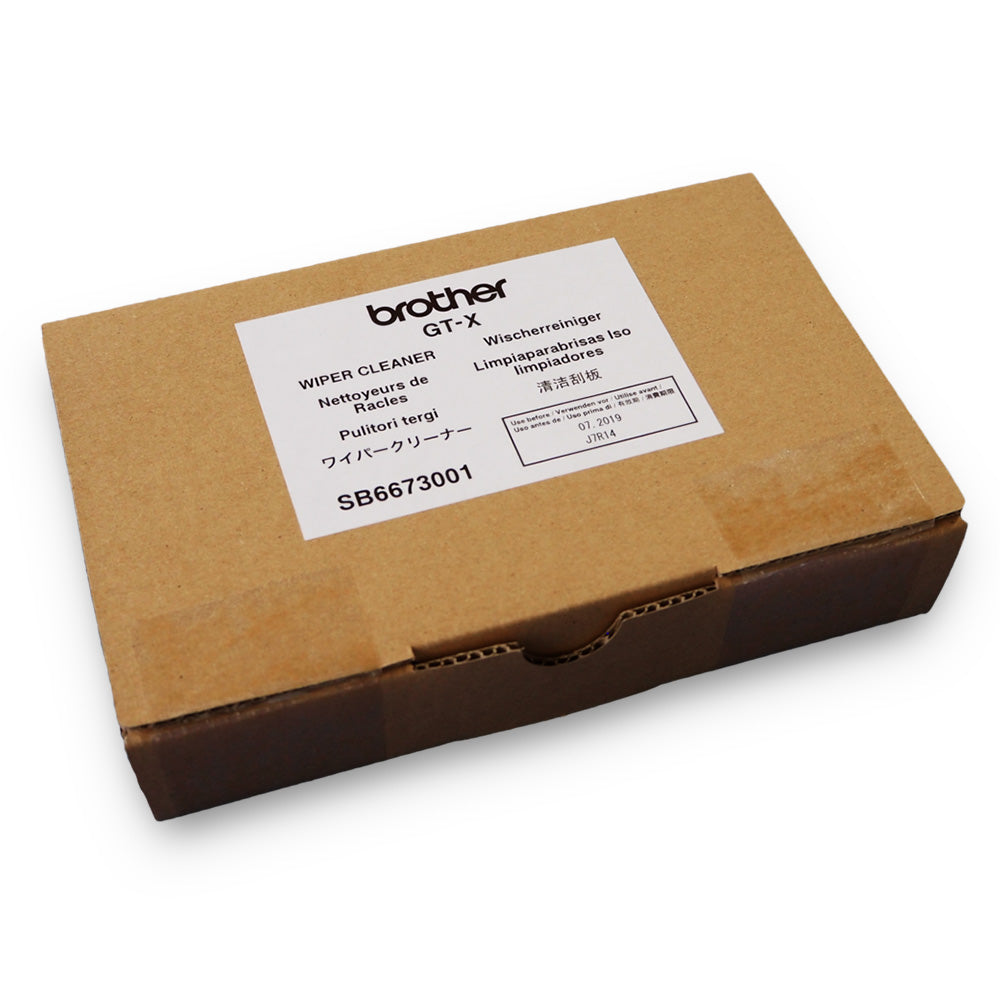
- GTX 422 – Wiper Cleaner - SB6673001
- GTXpro 423 – Wiper Cleaner - SB6673001
- GTXpro B 424 – Wiper Cleaner - SB6673001
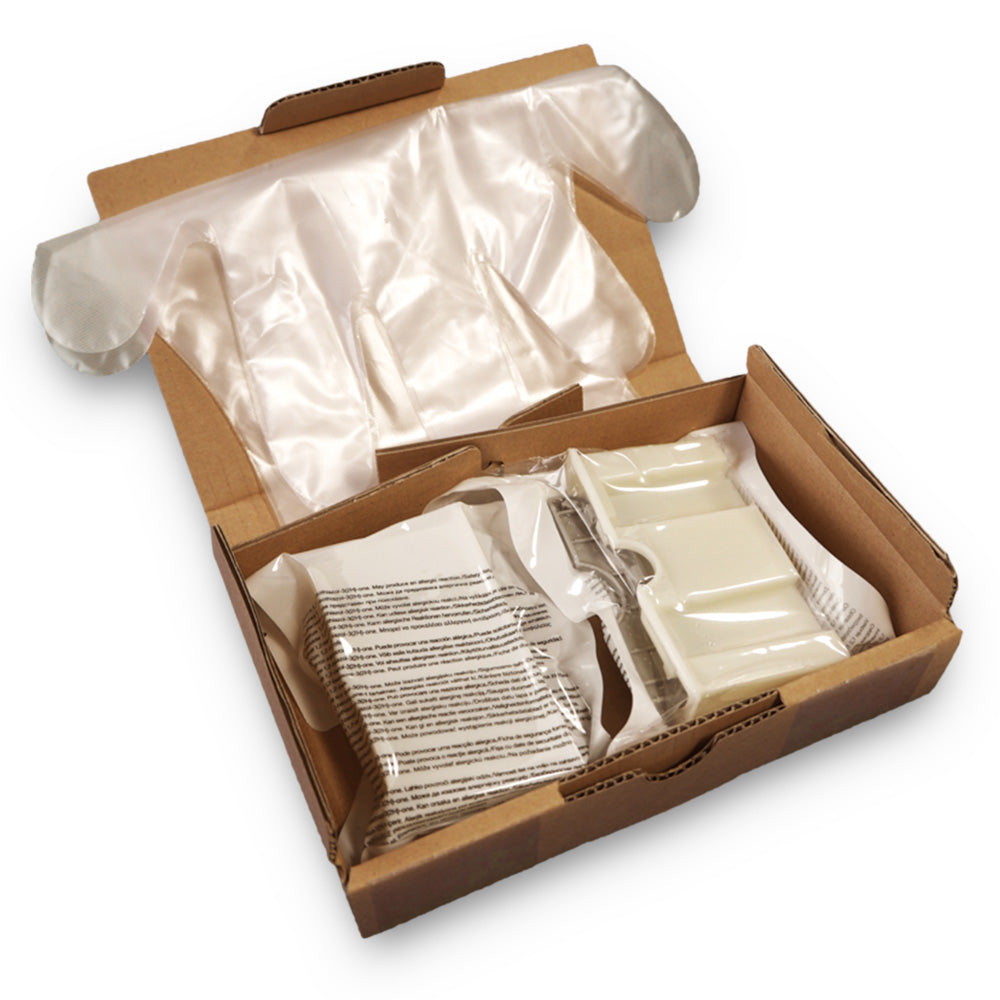
- During this process, it is recommended to also remove the wiper cleaners that you have purchased from the box. Then replace the old wiper cleaners with a new one.
- This should be done for CMYK and the WHITE side. This is very important so don't omit this step.
5. Insert the shaft and then fold it down into a closed position and press down until a clicking sound is heard. The click indicates that the latch is in position.

