


Brother
GTX - Shoe Platen Complete Kit
GTX - Shoe Platen Complete Kit - Default Title
SKU:
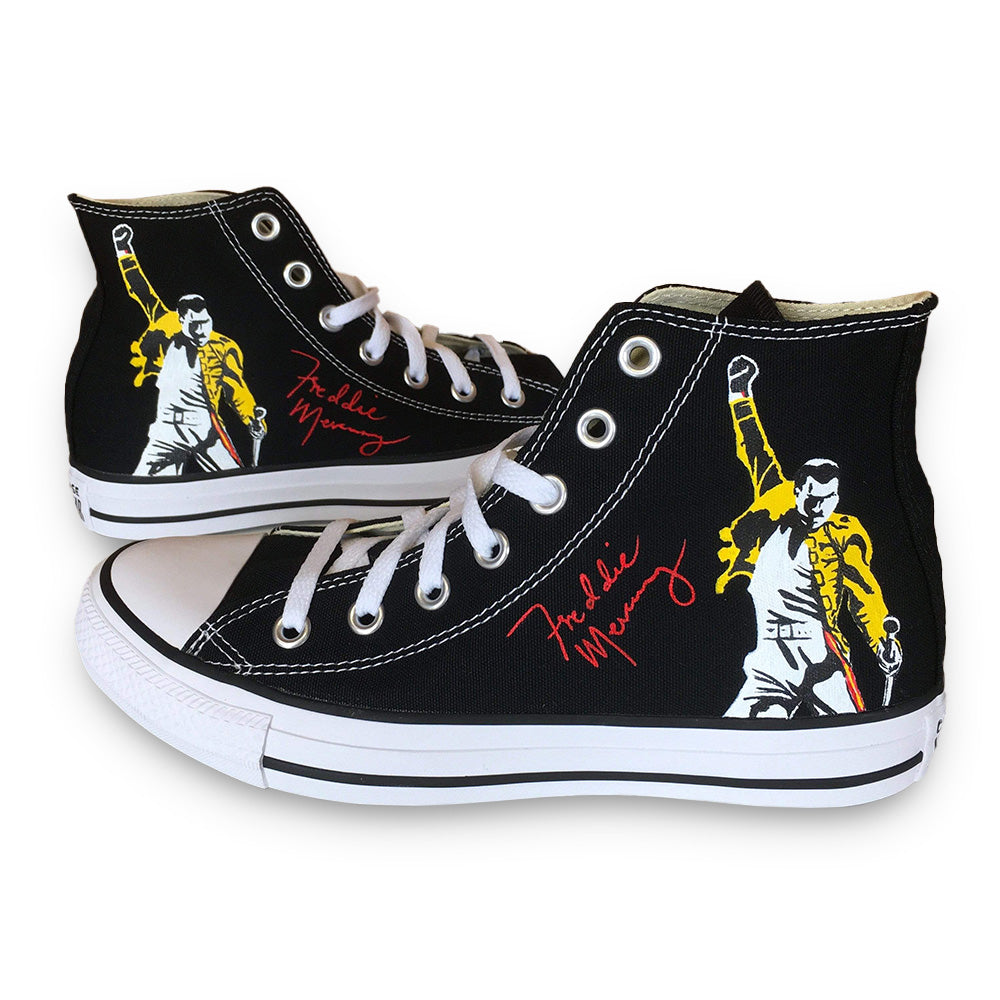
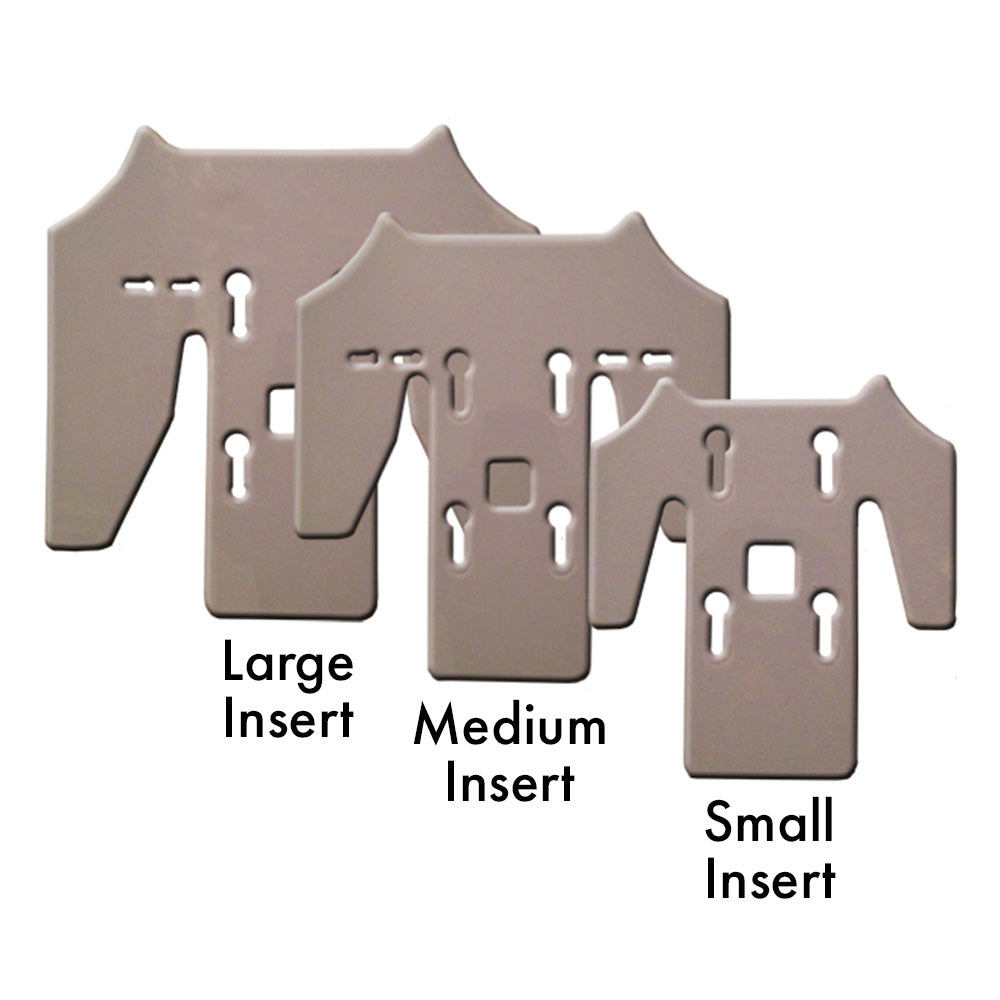
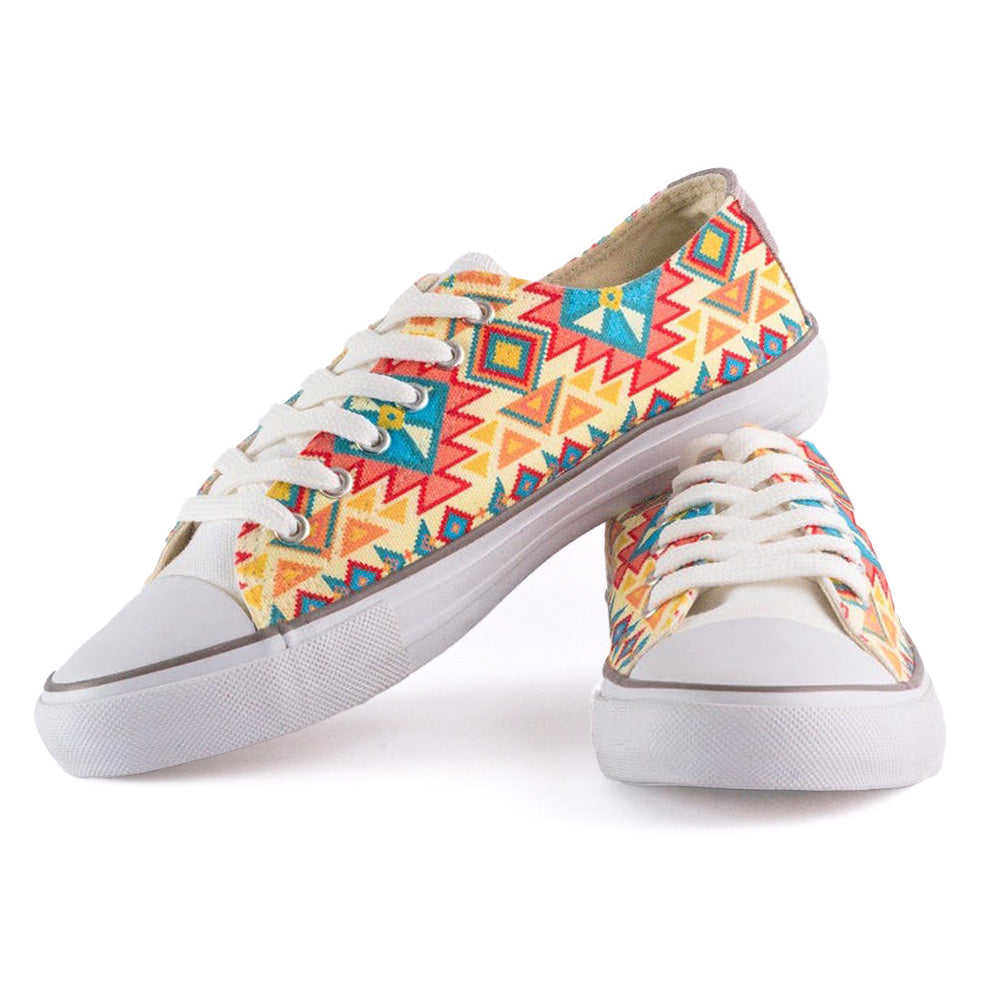
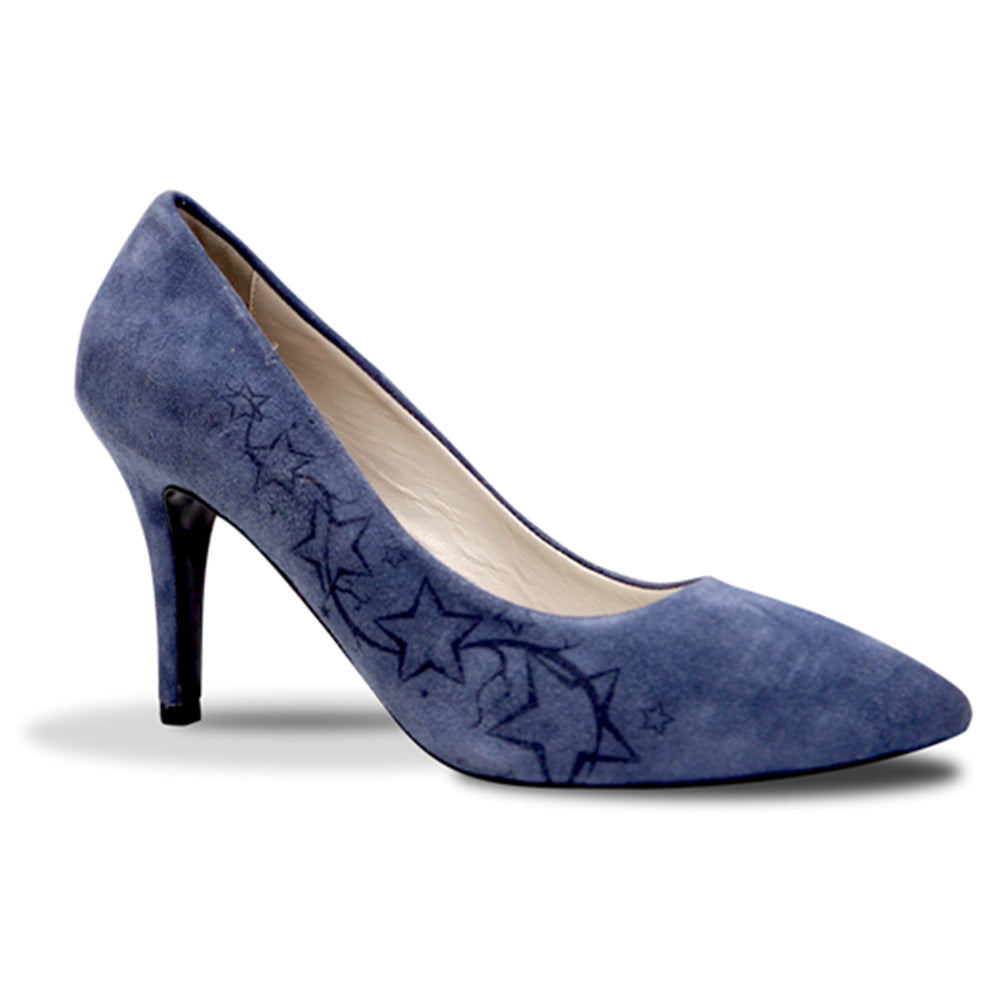
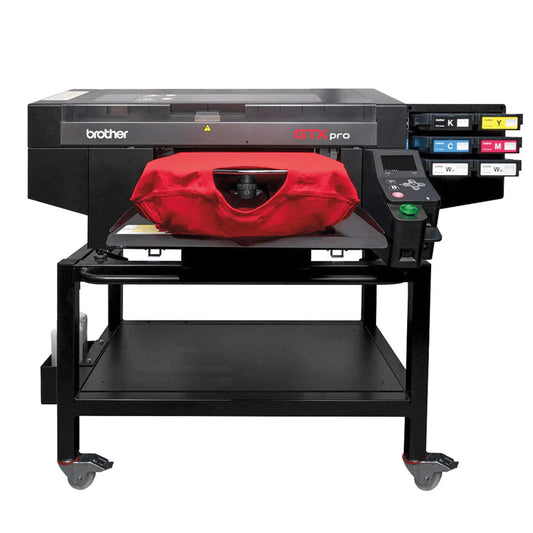
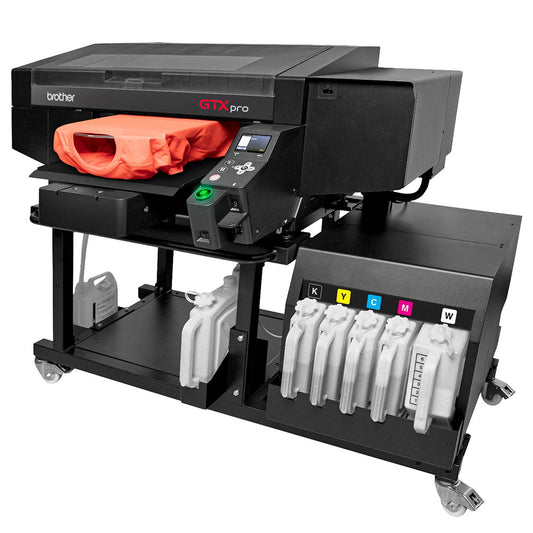
This shoe platen will work on all Brother GTX Series Direct to Garment Printers and comes with three different size platen inserts to allow for printing on different size shoes. The Medium and Large Platen Inserts also allow for undermount blocks that can be used to secure the footwear from the bottom should it be desired. An alignment jig is also provided to help place artwork on different styles of shoes.
The Mounting Kit is required in order to mount the Shoe Platen Inserts on to the GTX printer. The Mounting Kit uses the same pin setup as the standard GTX Adult Platen that comes with all GTX Printers.
The Shoe Platen Complete Kit comes with the following inserts:
- Mounting Kit
- 3 Shoe Pallet Inserts
- Alignment Jig
In stock
Couldn't load pickup availability
Product Resources


Often Purchased With
-
AlbaChem ALBA-BRO DTG Pretreatment Spray For Brother
1680Starting at $22.50 CAD
-
AccuLine Visual Alignment System for Brother DTG
AG304Regular price $1,800.00 CADRegular priceUnit price per -
GTX - Oversize Garment Platen - 16'' x 21''
SB6992001Regular price $2,839.00 CADRegular priceUnit price per -
-
Brother GTX Pro B
gtxpro-b -
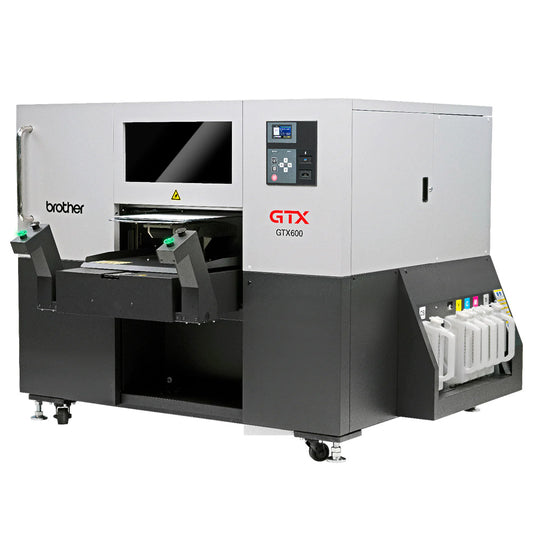
Brother GTX 600
GTX600

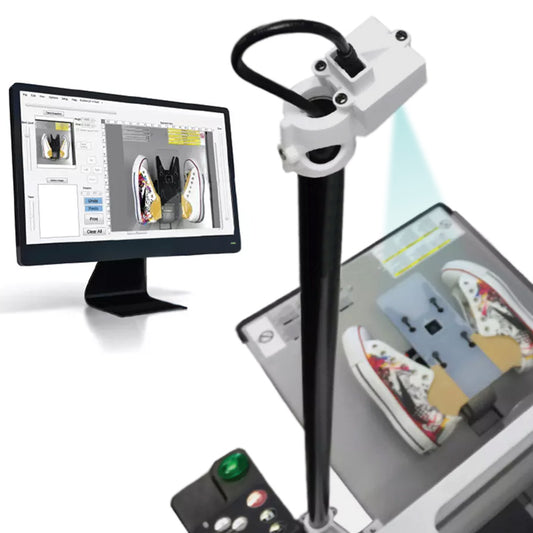
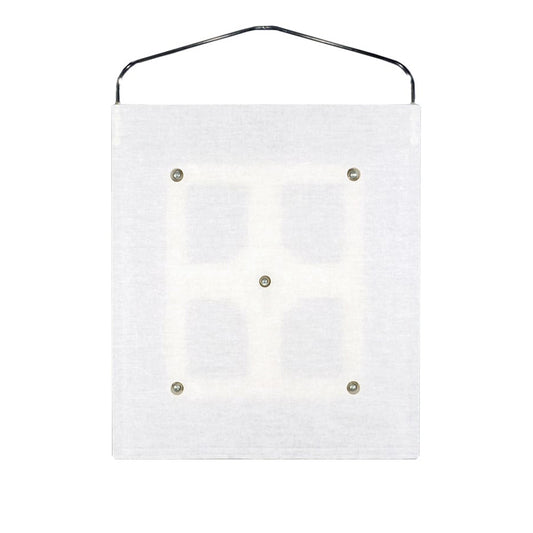
ALIGNMENT JIG
-
Since there is a large number of styles and sizes, it would be almost impossible to provide artwork templates on all of them. But the Shoe Platen Kit comes with the next best thing – the Alignment Jig. The Alignment Jig, made out of a clear piece of plastic, displays guidelines above the shoes to help align the artwork in the graphic software program.
The Shoe Platen Inserts have a square hole cut out directly above the Large Pin on the Mounting Kit. There is a black square block that is mounted to the bottom of the Alignment Jig that fits into the cut out on the Shoe Platen Inserts to align it.
-

Additional Information
1. Attach the appropriate size Shoe Platen insert (based on the shoes being printed) to the Mounting Plate. Tighten the screws using your finger or M4 allen key (not included).
2. Cover the Shoe Platen insert with double-sided tape (or double-sided platen tape). Make sure there is a hole in the center of the Shoe Platen Insert for the Alignment Jig to be inserted.
3. Mask off the areas of the shoe that you do not want ink printed on to using standard masking tape or medical tape.
4. Load the shoes on to each side of the Shoe Platen insert. Make sure the sides of the shoe are as flat as possible.
5. Insert the Alignment Jig in the square cut-out on the Shoe Platen insert.
6. Align the artwork in your graphic software program to match up with the Alignment Jig.
7. Print the artwork to the GT printer. It is recommended to print in Unidirectional print mode.
8. Set the platen height to the proper level based on the shoe that is being printed and press the Platen Feed button on the control panel to test it.
9. Press the Print button on the GT printer.
10. Carefully remove the printed shoes from the Shoe Platen Insert.
11. Cure the printed shoes using a heat gun or conveyor dryer / box.