
Oulianov
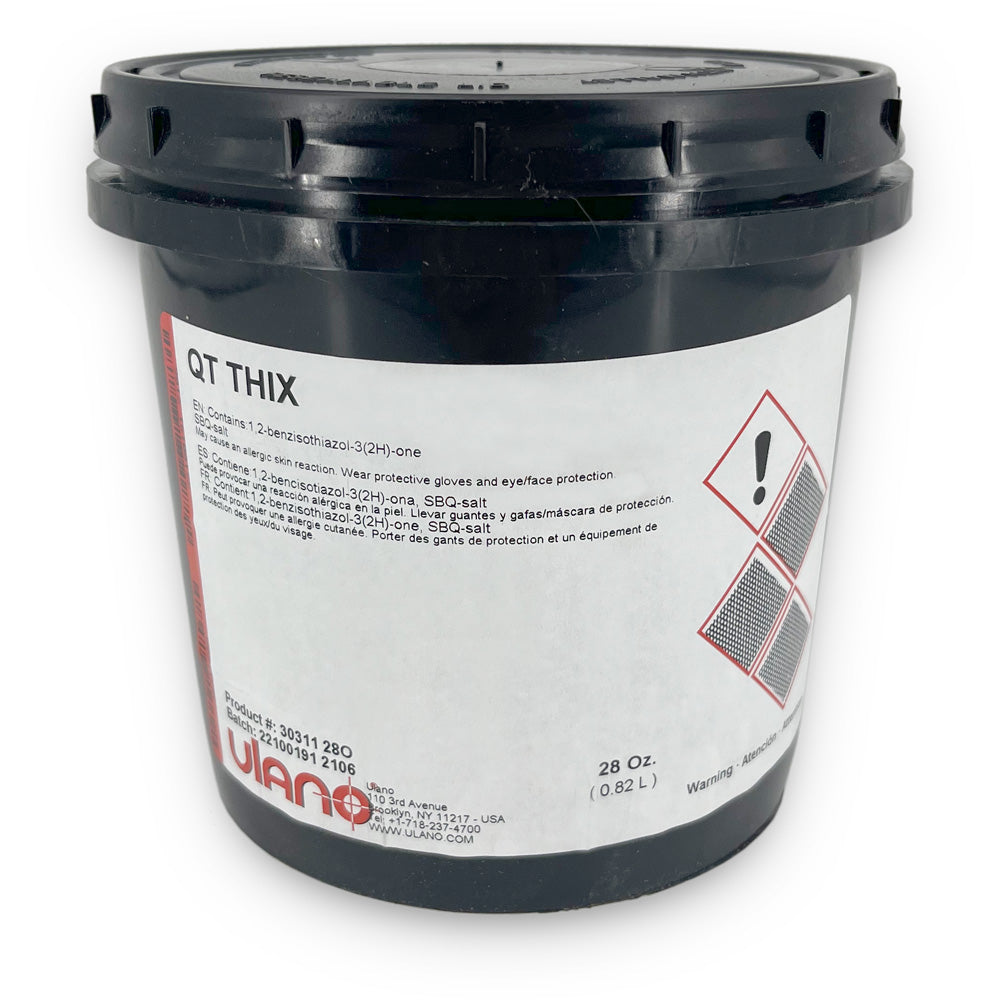
Ulano QT-THIX (Émulsion)
Ulano QT-THIX (Émulsion) - 1 litre
SKU:
Remarque : Il n'est pas recommandé d'expédier de l'émulsion lorsque la température est inférieure au point de congélation. Veuillez effectuer votre achat à vos propres risques, car nous ne pouvons garantir l'intégrité de l'émulsion en cas de gel pendant le transport. Toutes les commandes d'émulsion passées par temps froid sont des ventes fermes.
QT-THIX est une émulsion directe au photopolymère SBQ prête à l'emploi, formulée pour la production de pochoirs épais destinés aux applications de fabrication et de décoration nécessitant des dépôts de film d'encre ultra-épais à travers des mailles grossières, en utilisant des encres et des pâtes plastisol, à base d'eau ou à solvant non agressif. Ces applications incluent les effets haute densité, gonflants et lenticulaires pour les vêtements imprimés ; les masques de soudure pelables dans l'industrie électronique ; les effets de faux mosaïque et de plomb pour la décoration du verre et de la céramique ; ainsi que les joints sérigraphiés. La viscosité extrêmement élevée (60 000 CPS) du QT-THIX offre un superbe contrôle de l'enduction. Sa teneur élevée en matières solides (52 %) permet un excellent pontage des mailles sur les tissus grossiers et un séchage rapide. Sa couleur rouge facilite l'inspection du pochoir. Les pochoirs QT-THIX sont extrêmement durables et ne deviennent pas collants dans des conditions de forte humidité. Même les pochoirs QT-THIX très épais conservent bien les détails d'impression. Le QT-THIX est facile à décaper.
In stock
Impossible de charger la disponibilité du service de retrait
Product Resources
Souvent acheté avec
-
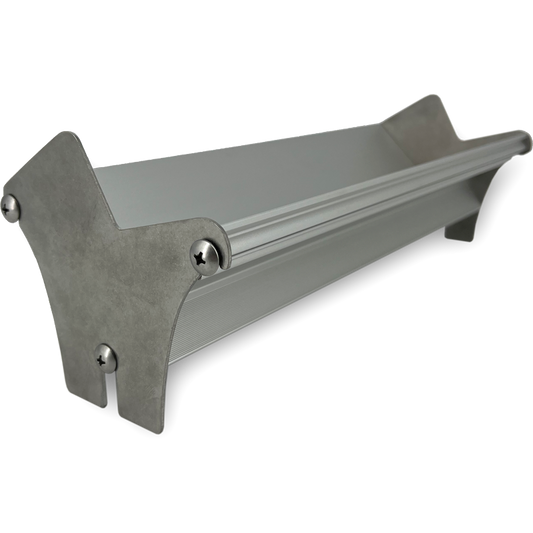
Enduiseur d'émulsion Monster-Max II
MMSC4 + MMENDCAPPrix habituel Du $36.00 CADPrix habituelPrix unitaire par -
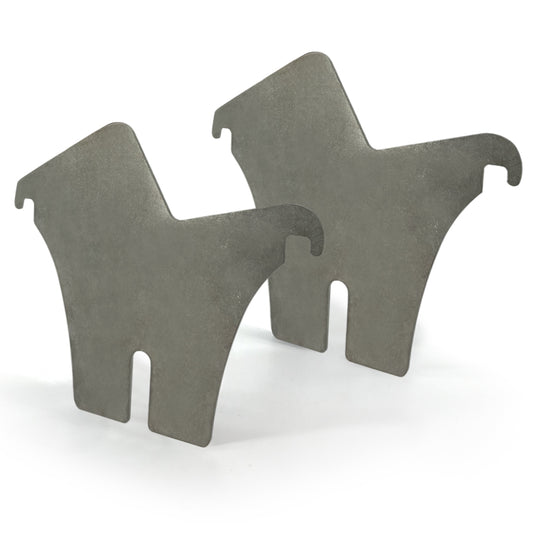
Bouchons d'extrémité pour coucheuse à émulsion Monster-Max II
MMENDCAPPrix habituel $24.00 CADPrix habituelPrix unitaire par -
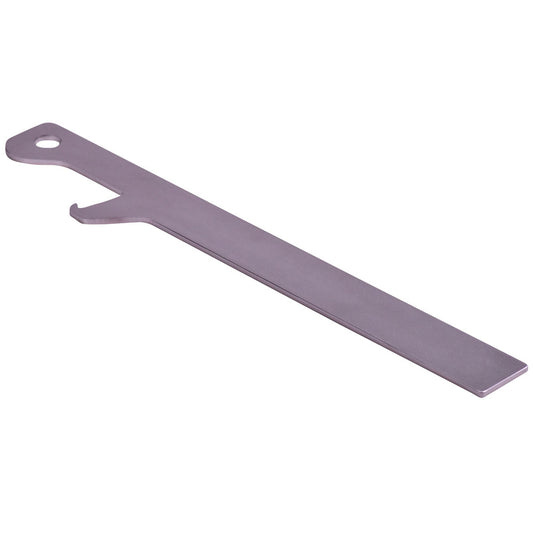
Emulsion Buddy
EMULSIONBUDDYPrix habituel $24.00 CADPrix habituelPrix unitaire par
Additional Information
-
High (52%) solids content
- excellent build per coat
- better mesh bridging on coarse screens
- lower Rz value yields sharper printed edges -
High viscosity (60,000 CPS)
- easier to control during coating
- thick stencils without face coats -
Very fast exposing
- dependable polymerization assures durability and ink resistance -
Water Resistant; resists plastisols and most washup solvents
- will not become tacky under high humidity conditions
- excellent wet strength during lengthy washout -
Red color
- easy stencil inspection, even on colored mesh -
Shelf life
- unopened: 1 year at 70º F. (21º C.)
COLOR : Red
SOLIDS : 52%
VISCOSITY : 60,000 cps
SENSITIZER : SBQ
SOLVENT RESISTANCE : Mild
WATER RESISTANCE : Poor
SHELF LIFE : 1 year in cool, dry storage
- Step 1: PREPARE THE MESH
Because of the considerable volume and thickness of QT-THIX to be exposed, we recommend the use of un-dyed mesh. Used or surface treated mesh need only be degreased using Magic Mesh Prep, Screen Degreaser Liquid No. 3 or dilute Screen Degreaser Concentrate No. 3.(Mechanical abrasion is an option for new mesh that is not surface treated. It increases the surface area of mesh for a better mechanical bond of the stencil, increasing printing run length. Abrading and degreasing can be combined in one step with Ulanogel 23.)
- Step 2: HANDLING
QT-THIX is ready-to-use and should not be stirred, as that risks the introduction of air bubbles. Use QT-THIX under yellow safe lights.
- Step 3: COAT THE SCREEN
Given the high viscosity of QT-THIX, use slow coating strokes in order to fill the mesh openings and avoid entrapped bubbles. Many coating regiments are possible, but we suggest the following: 4 coats on the squeegee side followed immediately by 1 coat on the printing side (to “gather” excess emulsion and smooth the surface) and 4 more coats on the squeegee side; turn the screen 180º and apply 4 coats on the squeegee side; turn the screen 180º once more and add 4 more coats to the squeegee side. Manual coating introduces such variables affecting stencil thickness as coating speed, angle, and pressure, as well as the fill level of the coating trough. Thus, coating thicknesses will not be as consistent as those achieved with CDF/QT Thick-Films--which also offer much faster processing speed and stencil throughput. Following are various mesh counts (per inch)/thread diameters (in microns) and coating regimens (printing side/squeegee side) with approximate resulting stencil thicknesses (in microns): 25/inch/260 d.: 2/4 ≈ 360; 2/6 ≈ 520; 2/10 ≈ 900; 2/12 ≈ 1100. 40/inch/250 d.: 2/9 ≈ 300 54/inch/140 d.: 2/5 ≈ 200; 2/8 ≈ 300; 2/12 ≈ 500 83/inch/100 d.: 2/9 ≈ 330 110/inch/80 d.: 2/5 ≈ 140
- Step 4: DRY THE SCREEN
Dry multicoated screens thoroughly in a horizontal position, printing side down. We recommend that QT-THIX be dried with commercial dryers having filtered input and set no higher than 104° F. (40° C.). The thicker the QT-THIX stencil, the longer drying time it will require. 500-micron-thick stencils require 4 – 6 hours; 1000-micron stencils should be dried for at least 8 hours. Use a humidifier in the drying area, if possible. Note that, after initial drying, very thick stencils may require one or two “after coats” on the squeegee side to improve anchorage to the mesh. After coats should be dried thoroughly before the stencil is exposed.
- Step 5: CALCULATE AN APPROXIMATE EXPOSURE TIME
Refer to the list of theoretical exposure times below. Theoretical Exposure Time X Exposure Variable Factors = Approximate Exposure Time.
- Step 6: MAKE A STEP WEDGE TEST
Calculate five test exposures—two below and two above the Approximate Exposure Time. Tape the test positive to the screen. Expose the screen for the shortest exposure time to be tested. Mask 1/5 of the positive and expose the screen to arrive at the next shortest exposure time. Repeat this procedure until five exposures are made, to arrive at the longest exposure time. Make a print from the stencil and compare it to the test positive. The optimum exposure is indicated by: ■ No positive outline or darkening of the emulsion color is observable if the exposure is increased. ■ The squeegee side emulsion is hard and not slimy. ■ The print best duplicates the test positive at the needed level of resolution.
- Step 7: EXPOSE THE STENCIL
Expose the stencil at the selected exposure step. To improve stencil strength and ink resistance, dry the stencil thoroughly and post-expose it on the squeegee side. With a 5000 watt metal halide lamp at an exposure distance of 40 inches (1 meter), the post-exposure time is 3 – 5 minutes.
- Step 8: WASH OUT THE STENCIL
After exposure, wet both sides of the screen with a gentle spray of cold water, then spray gently on the printing side until the image areas clear. Washout time is proportional to stencil thickness. 200 – 300 micron stencils will require 15 – 20 minutes for the image to clear; 500 micron stencils will require 20 – 30 minutes. Washout spray time can be reduced by soaking the stencils in water, with soaking time also proportional to stencil thickness. (200 – 300 micron stencils require about 5 – 10 minutes; 500 micron stencils, about 15 – 20 minutes.) After the image opens, rinse both sides of the screen with a gentle spray until no soft emulsion is left on the squeegee side, and no foam or bubbles remain. Blot excess water from the printing side with newsprint (unprinted newspaper stock).
- Step 9: BLOCKOUT AND TOUCHUP
Blockout Option 1: Before drying and exposing the coated screen, use excess emulsion from the coating step to cover the blockout area. Blockout Option 2: For non-water based-inks, after exposure and washout, dry the screen. Apply Screen Filler No. 60, or Extra Heavy Blockout No. 10. Touchup Option 1: Use excess emulsion and re-expose the screen. Touchup Option 2: With non-aqueous inks, use Screen Filler No. 60, or Extra Heavy Blockout No. 10 thinned with water.
- Step 10: STENCIL REMOVAL
Use Eco-Wash 160, All-Purpose Ink Wash, or the ink manufacturer’s recommended solvent, or the least powerful ink diluent necessary, to remove all ink from the screen. Use Screen Degreaser Liquid No. 3 to help remove ink and solvent residues that might impair the action of the stencil remover. Brush Stencil Remover Liquid No. 4 or Stencil Remover Paste No. 5 on both sides of the screen. Do not let the stencil remover dry on the screen. Wash the screen with a forceful spray of water, preferably from a commercial power spray. Use Walk Away Haze Remover or Haze Remover Paste No. 78 to remove ink and haze residues.