POPULAR
Ulano
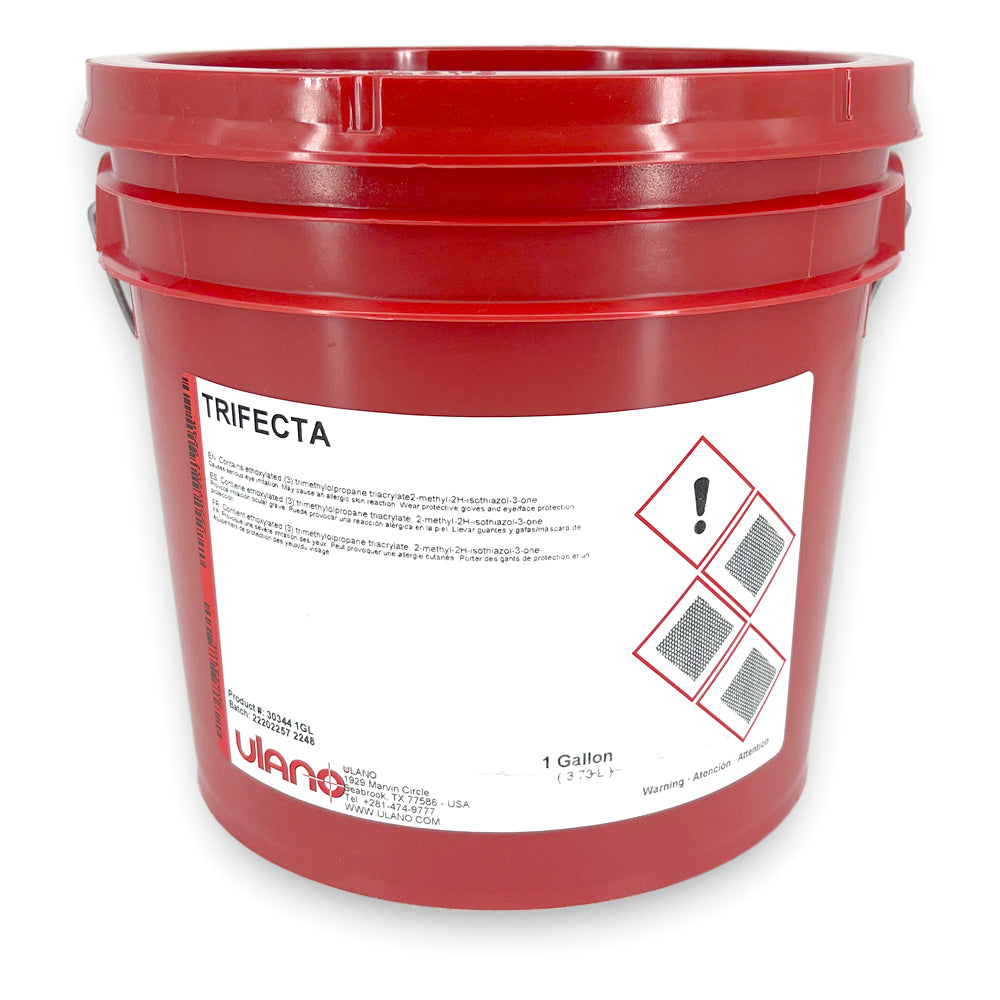
Ulano Emulsion Trifecta Dual-Cure
Ulano Emulsion Trifecta Dual-Cure - 1 gallon
SKU:
TRIFECTA est une émulsion directe SBQ à double durcissement de couleur violette, à exposition extrêmement rapide et durable, prête à l'emploi, pour l'impression de vêtements de sport avec des encres à base d'eau, de décharge et de plastisol, y compris des formulations post-phtalates. Correctement préparés, les pochoirs TRIFECTA ne nécessitent aucun sensibilisateur ni durcisseur pour résister aux encres textiles les plus agressives du marché. Tout ce dont les pochoirs TRIFECTA ont besoin pour obtenir une durabilité est une lumière UV suffisante pour l'exposition et la post-exposition. TRIFECTA est formulé pour être compatible avec les sources d'exposition fixes et à balayage CTS (ordinateur à écran), y compris les unités à base de LED. Pour une résolution maximale et une latitude d'exposition plus large, l'utilisation d'un maillage jaune est recommandée avec les systèmes d'exposition conventionnels et avec les unités d'exposition CTS.
TRIFECTA présente une viscosité assez élevée (6500 centipoises à 25º C) qui permet un bon contrôle du revêtement, même sur des mailles grossières. Sa teneur élevée en solides facilite un séchage rapide, une bonne accumulation de EOM par coup de revêtement et, par conséquent, une bonne définition des bords imprimés.
*Dans les rares cas où 10 000 impressions ou plus sont nécessaires avec des encres agressives, un durcissement diazoïque ou chimique peut être utilisé.
In stock
Impossible de charger la disponibilité du service de retrait
Product Resources

Often Purchased With
-
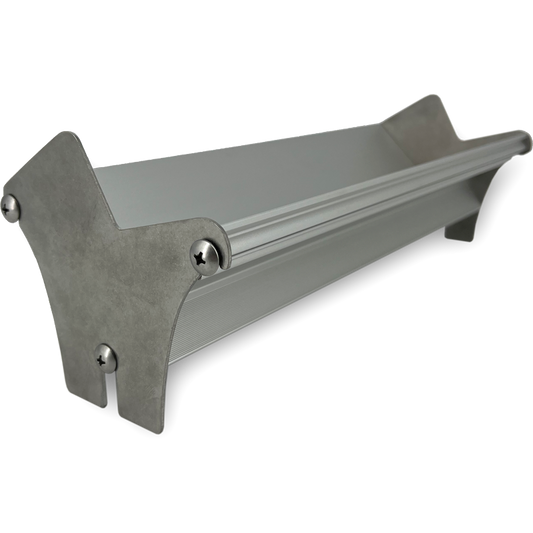
Monster-Max II Emulsion Scoop Coater
MMSC4 + MMENDCAPPrix habituel Du $36.00 CADPrix habituelPrix unitaire par -
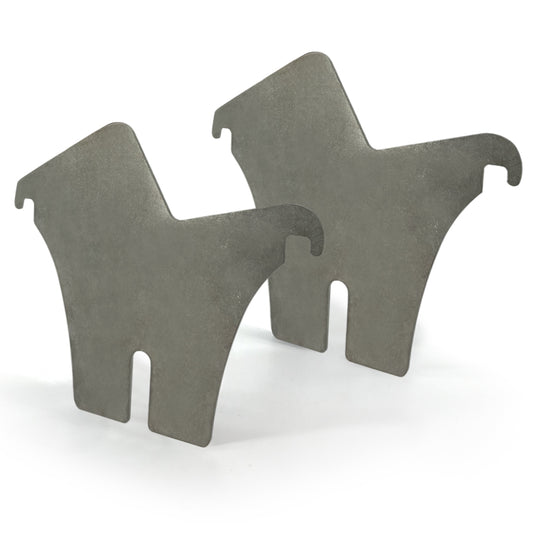
End Caps for Monster-Max II Emulsion Scoop Coater
MMENDCAPPrix habituel $24.00 CADPrix habituelPrix unitaire par -
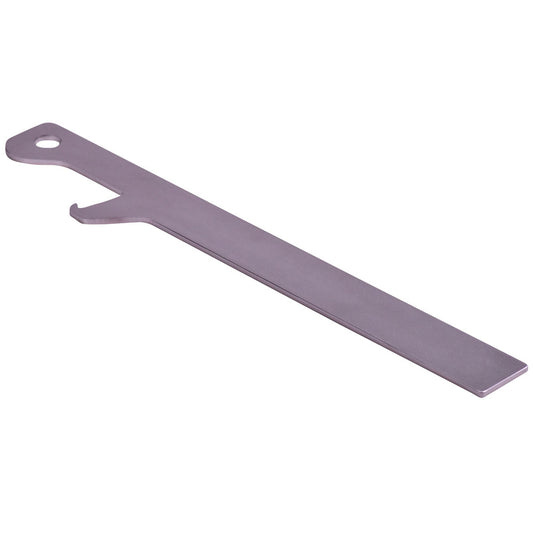
Emulsion Buddy
EMULSIONBUDDYPrix habituel $24.00 CADPrix habituelPrix unitaire par -
Calculateur d'exposition
RS1500APrix habituel $1,895.00 CADPrix habituelPrix unitaire par
Additional Information
- Ultra-fast exposing
- Suitable for CTS exposure systems
- Good wet strength, exposure latitude, and durability - Easy wash-out
- Fast stencil through-put for high volume shops
- Suitable for automatic washout units - High (~43%) solids content
- Fast drying
- Better mesh bridging for good printed edge definition - High (6500 centipoise) viscosity
- Easier to control during coating, even on coarse mesh - Shelf Life
- Unopened: 1 year at 70º F (21º C)
COLOR : Violet
SOLIDS : 43%
VISCOSITY : 6500 cps
SENSITIZER : SBQ Dual-cure; Presensitized
SOLVENT RESISTANCE : High
- Step 1: PREPARE THE MESH
Used or surface treated mesh need only be degreased using Magic Mesh Prep or Eco Degreaser 1:20. (Mechanical abrasion is an option for new fabric that is not surface treated. It increases the surface area of fabric for a better mechanical bond of the stencil, increasing printing run length. Abrading and degreasing can be combined in one step with Ulanogel 23.) Rinse the screen thoroughly with water. Dry the screen thoroughly.
- Step 2: OPTIONAL SENSITIZING
Trifecta is pre-mixed and pre-sensitized. If needed, optional diazo (to be requested separately) can be used. For gallons –C10-D diazo, for quarts – C62 diazo can be used. \
- Step 3: COAT THE SCREEN
Handle Trifecta and coated screens under yellow safe light conditions. Method 1: Utilizing thicker edge of coating through, apply two coats of emulsion on the printing side to achieve even emulsion sheeting, than one coat on the squeegee side. Dry the screen thoroughly. Method 1 due to the high solids of emulsion is sufficient for majority of printing jobs. For thicker coating use Method 2: Apply two coats on the printing side, then two coats on the squeegee side, wet-on-wet. After each coating, rotate the screen 180°. For lower Rz and sharper printing use Method 3: Follow Method 2 (above). Then, after drying the screen, apply two additional coats on the printing side, wet-on-wet.
- Step 4: DRY THE SCREEN
Dry coated screens thoroughly in a horizontal position, printing side down, at room temperature in a dirt- and dust-free area. Use a fan to speed drying. If using a commercial dryer, dry the screen with warm, filtered air, up to 104° F. (40° C.) If humidity is above 40% RH in the room, use a dehumidifier in a drying area. Unexposed stencils have great affinity to moisture. Residual and re-absorbed moisture will prevent a screen from reacting to light properly.
- Step 5: CALCULATE THE APPROXIMATE EXPOSURE TIME
Refer to the Base Exposure Table (reverse side).Base Exposure Time X Exposure Variable Factors = Approximate Exposure Time.
- Step 6: MAKE A STEP WEDGE TEST
Make a Step Wedge Test (an instructional video for doing so is available in the “Support/Info” section of the Ulano Website: www.ulano.com) or use exposure calculator —carried through to actual printing—to determine your optimum exposure time. Optimum exposure is indicated: ■ At that exposure time when the squeegee side of the wet stencil first reaches its maximum color density and color of the stencil does not appear to be “milky” or whitish. (This is best observed while the stencil is still wet following the washout.) ■ There is no suggestion of softness or sliminess on the squeegee side emulsion after processing the stencil. ■ For water-based and discharge ink, post-expose fully developed and dry stencil from the squeegee side for the triple the time of initial optimal exposure.
- Step 7: WASHOUT THE STENCIL
After exposure, wet both sides of the screen with a gentle spray of cold water. Then spray from the printing side until the image areas clear. Pressure washer on the fan spray of a distance about 12” off the screen from the printing side can be used to expedite the washout. Rinse both sides of the screen with a gentle spray until no soft emulsion is left on the squeegee side, and no foam or bubbles remain. Use wet vacuum to remove excess water. Dry the screen thoroughly before printing or post-exposure.
- Step 8: BLOCKOUT and TOUCHUP
Blockout Option 1: Before drying and exposing the coated screen, use excess emulsion from the coating step to cover the blockout area. Blockout Option 2: For non-water based-inks, after exposure and washout, dry the screen. Apply Screen Filler No. 60 or Extra Heavy Blockout No. 10. Touchup Option 1: Use excess emulsion and re-expose the screen. Touchup Option 2: For non-water-based inks, use Screen Filler No. 60 or Extra Heavy Blockout No. 10 thinned with water.
- Step 9: STENCIL AND HAZE REMOVAL
Use All-Purpose Ink Wash, or the least powerful ink diluent necessary, to remove all ink remaining in the screen. Use Screen Degreaser Liquid No. 3 to help remove ink and solvent residues that might impair the action of the stencil remover. Brush Stencil Remover Liquid No. 4 or Stencil Remover Paste No. 5 on both sides of the screen. Do not let the stencil remover dry on the screen. Rinse both sides of the screen gently to avoid splash-backs, then wash the screen with a forceful spray of water. If needed, use Walk Away Haze Remover or Haze Remover Paste No. 78 to remove ink and haze residues.