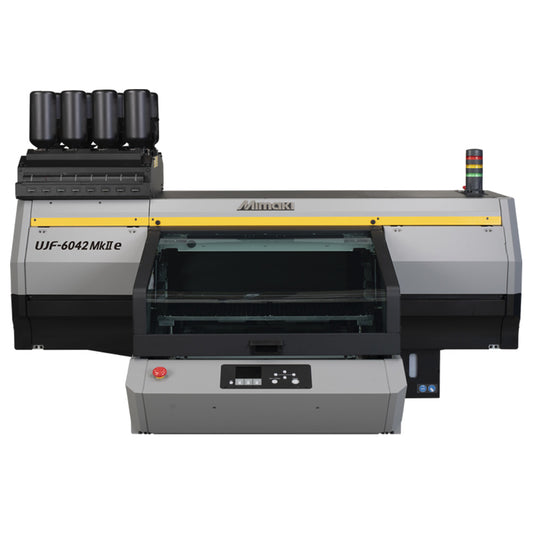
Often Purchased With
-
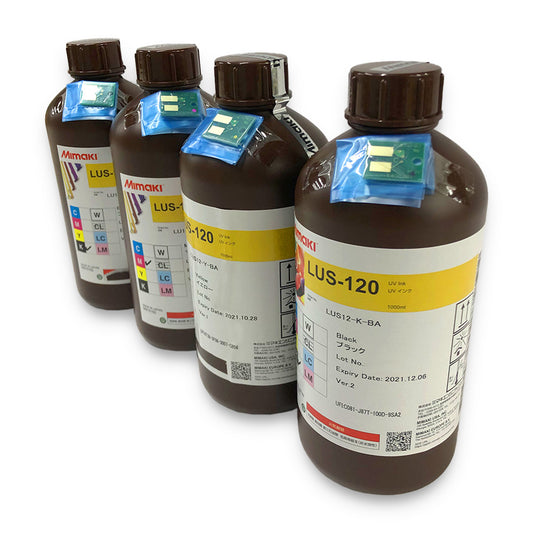
Encre UV Mimaki LUS-120
I-LUS12-W-BA-1Prix habituel $193.00 CADPrix habituelPrix unitaire par -
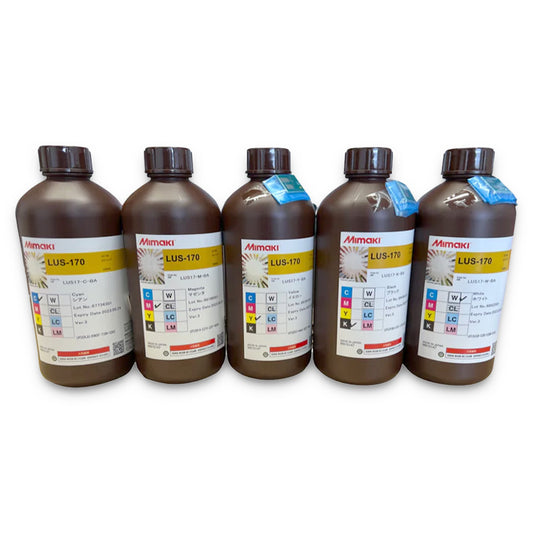
Encre UV Mimaki LUS-170
I-LUS17-W-BA-1Prix habituel $264.00 CADPrix habituelPrix unitaire par -
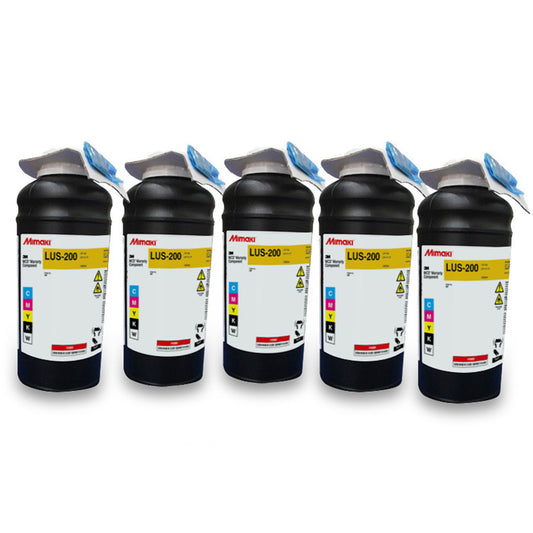
Encre UV Mimaki LUS-200
I-LUS20-W-BA-1Prix habituel $365.00 CADPrix habituelPrix unitaire par -
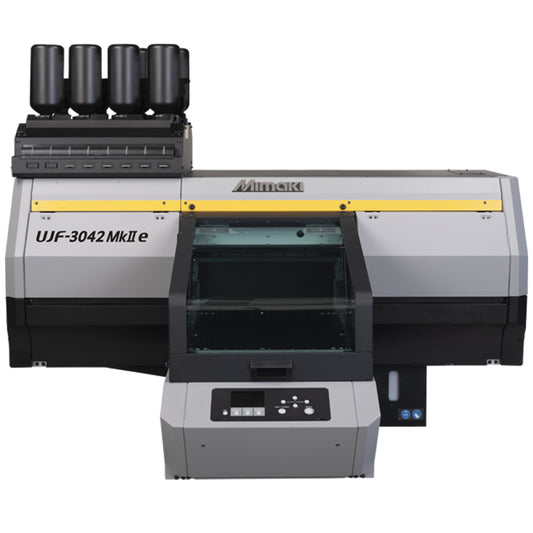
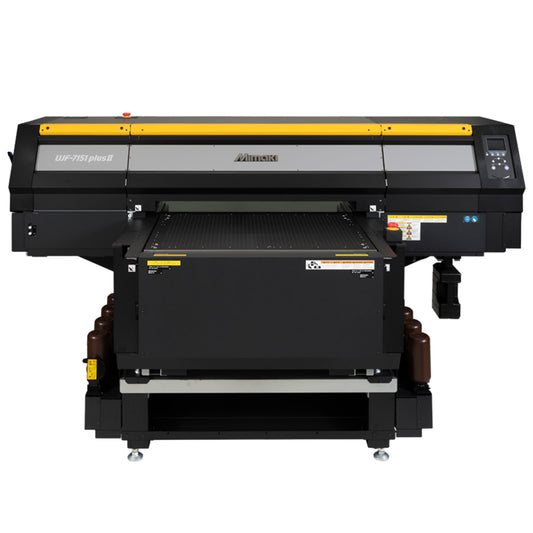
Mimaki UJF-7151 Plus II UV Flatbed Inkjet Printer
UJF-7151 Plus IIÉpuisé
Features
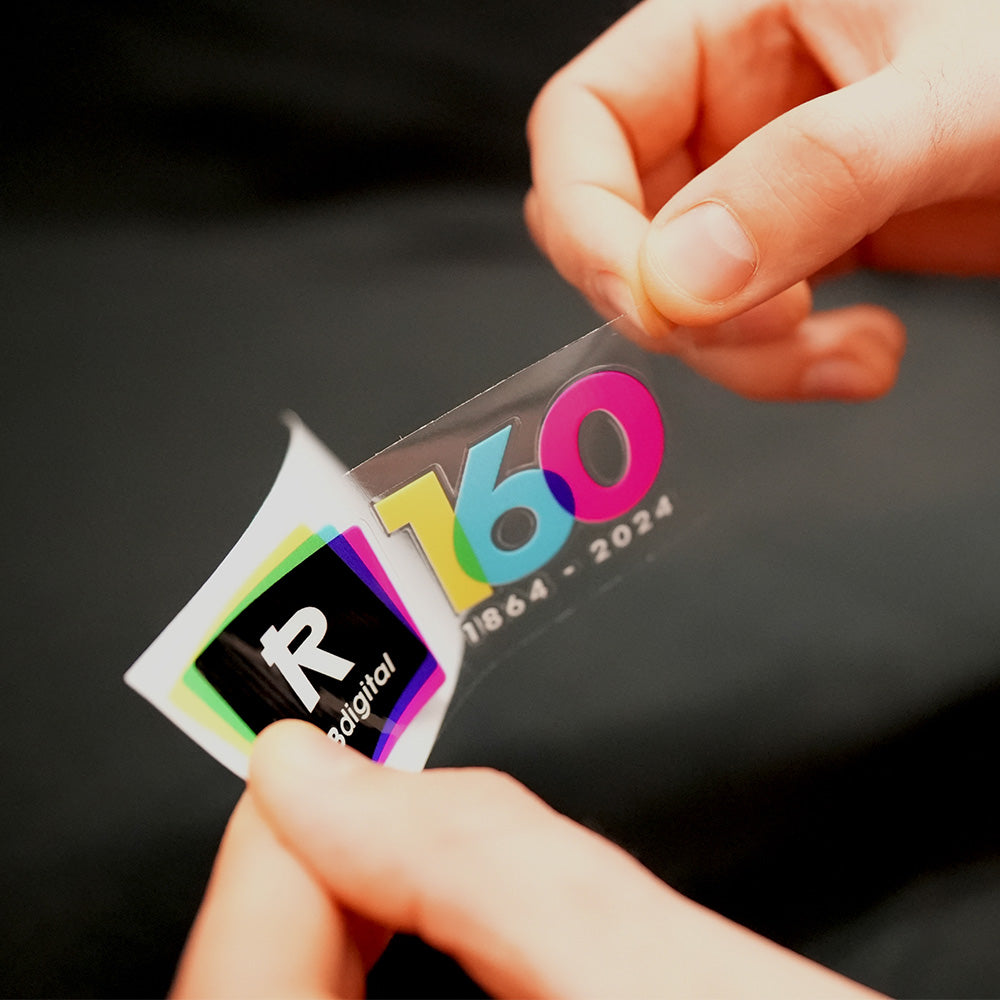
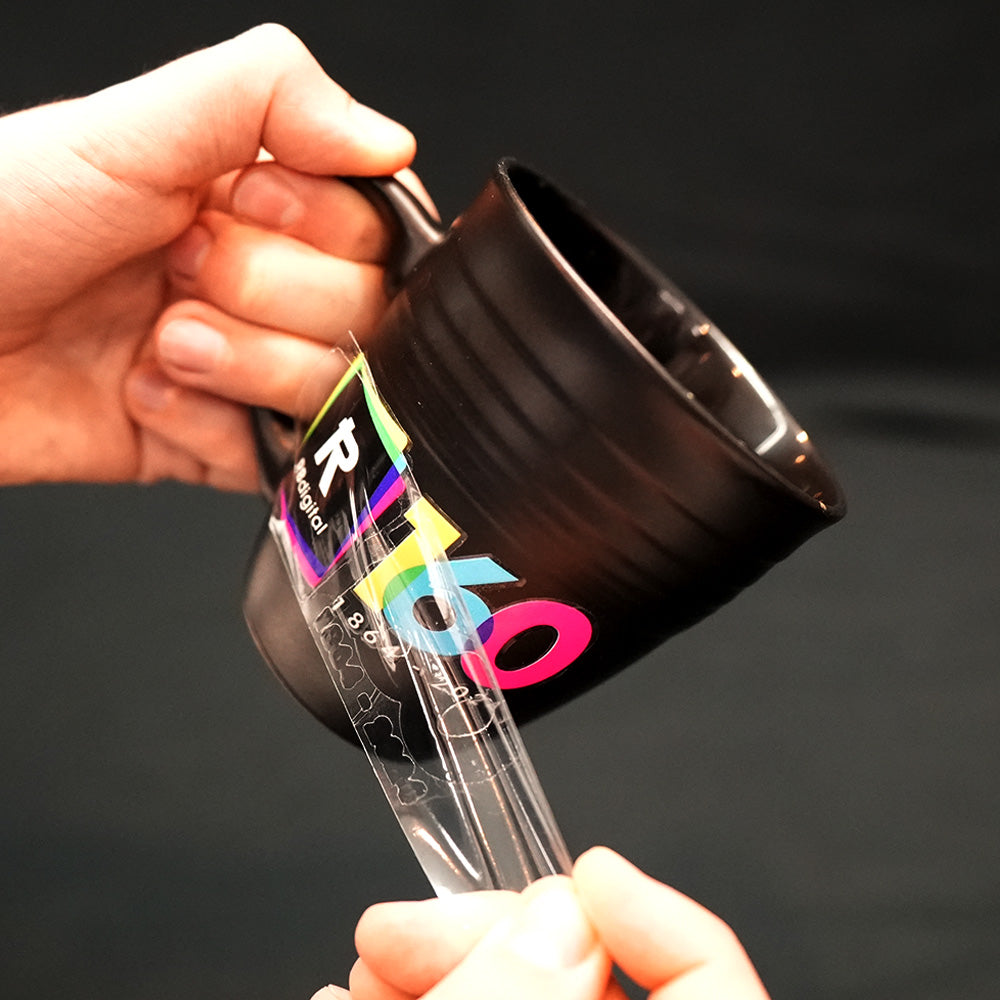
- No Sticky Glue Residues
No residue is left when you peel off the protective film on the A film. - More Rigid Glue Surface
Doesn’t come off when you touch the A film. - Strong Adhesion
About 1600~2000 gf / other brands average : 800~1000 gf
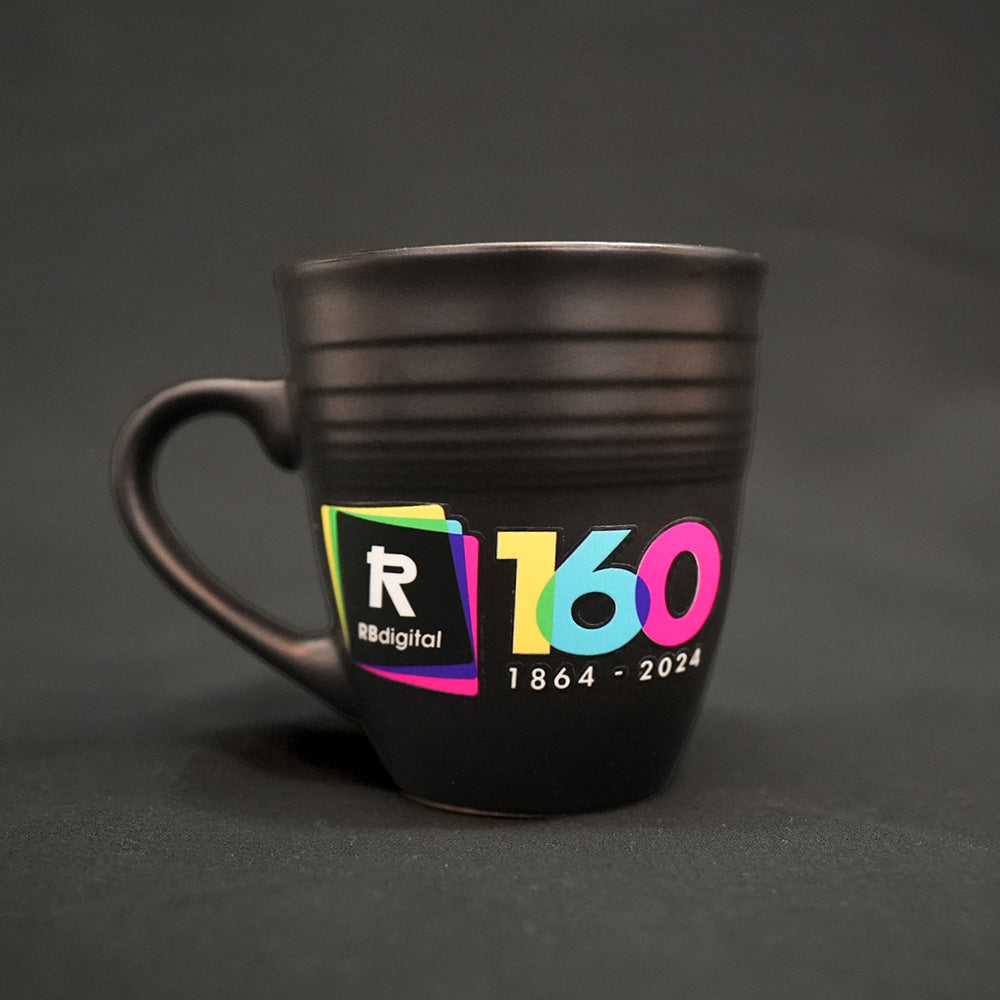
Applications
-
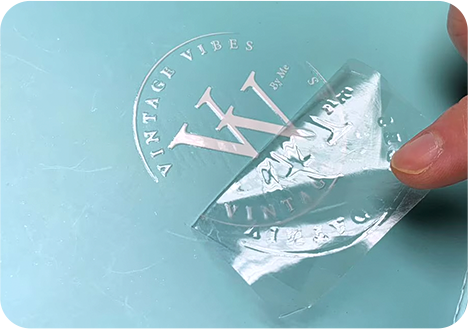
Plastic -
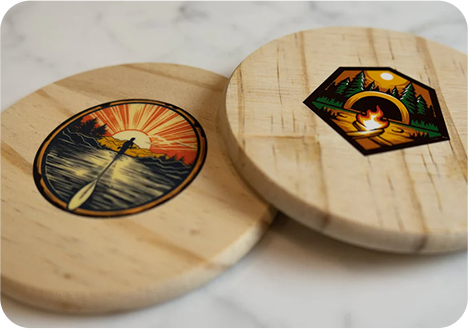
Wood -

Ceramic -
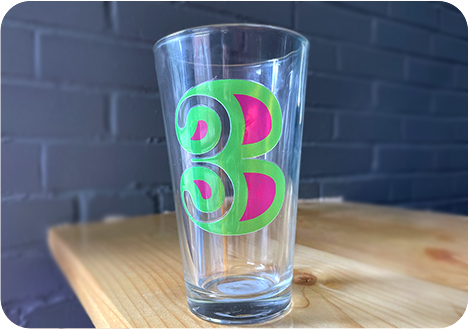
Glass -
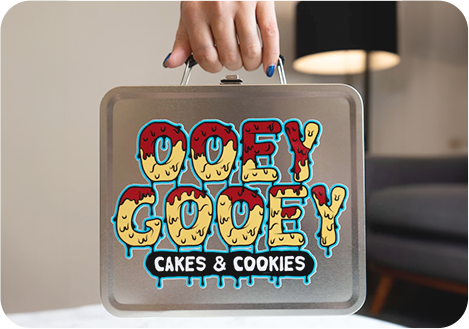
Metal -
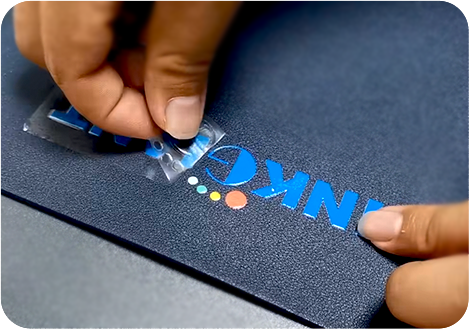
Leather
Additional Information
Printing Steps
1. The design is loaded into the software, and optimized for high resolution (300 dpi or better). It includes a transparency layer to ensure seamless integration with any background and crisp edges that guarantee no blushing or blurring occurs on the edges, maintaining the design's sharpness and clarity.
2. The Rip software works seamlessly to separate colors into individual layers and channels, carefully determining the precise amount of ink to allocate to each channel of the print head. This meticulous color separation process ensures accurate color reproduction and vibrant prints that capture every detail.
3. In order to maximize the usable area of the adhesive roll for printing, the software efficiently organizes multiple designs. By strategically arranging the designs, it minimizes waste and maximizes efficiency, resulting in a more cost-effective and streamlined production process.
*Note: If you will be utilizing the Toyoda Falcon Cutter, you are also able to arrange the artwork into 12" artboards so that you can feed these into the cutter and get them automatically cut after printing. These artboards will have registration marks on each corner so that the cutter can detect its parameters and cut to precision.
4. The designs are meticulously printed in layers on the adhesive "A" roll, starting with a solid white base. This base layer acts as a foundation, ensuring that the subsequent colors appear vivid and true to the original design. Each color is carefully applied, ensuring precise registration and vibrant hues. Lastly, a layer of varnish is added, providing a protective and glossy finish that enhances the overall visual appeal.
5. To ensure a secure and durable bond between the ink and adhesive, the printed stickers, decals, or logos are subjected to the power of UV lamps. These lamps emit ultraviolet light that cures the ink almost instantly, penetrating through the varnish and ink layers. This curing process creates a strong and resilient bond, ensuring that the design remains intact even under harsh conditions.
6. In the final step, the finished stickers, decals, or logos pass through an on-board laminator. This process adds an additional layer of protection and durability to the UV DTF transfers, ensuring that they are ready for application and capable of withstanding the test of time.
Cutting Steps
1. If you opted to complete "Step 3" and set up a 12" artboard around your artwork, simply manually cut out these artboards from your printed roll.
2. Load the 12" sheet that you cut on to the top paper tray of the Toyoda Falcon Cutter. The cutter will detect the registration marks around your 12" sheet and cut out each sticker on this sheet into individual squares.
WORK IN A WELL VENTILATED AREA and use Protective Equipment when working with specialty printing and curing products and processes (including DTF, DTG, UV) as fumes may be hazardous. Specialty inks and film require a good humidity and temperature environment (50% - 70% humidity, and 75° to 80°F) to minimize risk of ink clogs and film buckling)
