Often Purchased With
-
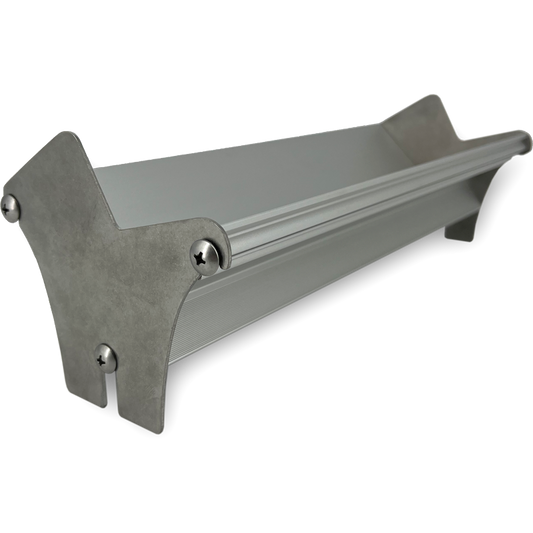
Monster-Max II Emulsion Scoop Coater
MMSC4 + MMENDCAPPrix habituel Du $36.00 CADPrix habituelPrix unitaire par -
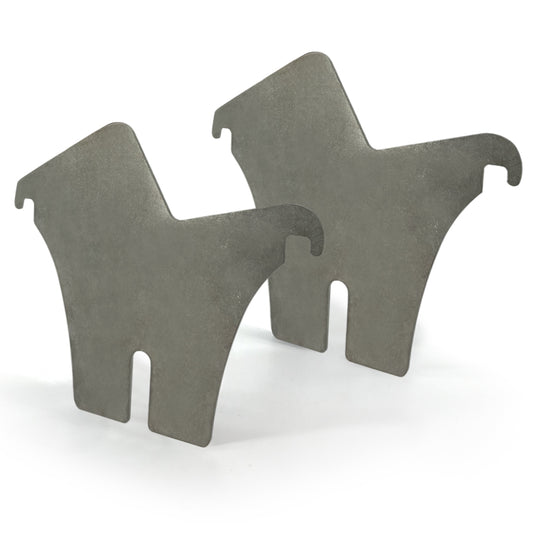
End Caps for Monster-Max II Emulsion Scoop Coater
MMENDCAPPrix habituel $24.00 CADPrix habituelPrix unitaire par -
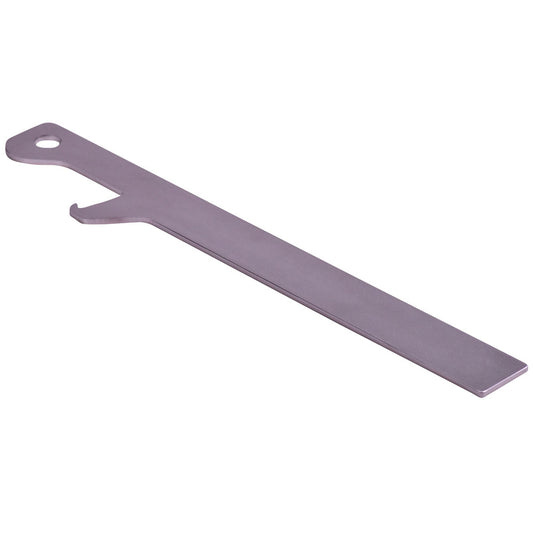
Emulsion Buddy
EMULSIONBUDDYPrix habituel $24.00 CADPrix habituelPrix unitaire par -
Calculateur d'exposition
RS1500APrix habituel $1,895.00 CADPrix habituelPrix unitaire par
Additional Information
- Formulated for wide exposure latitude
- Reliable performance in less than ideal shop conditions
- Easy to reclaim even if underexposed and used with aggressive solvents - High (38%) solids content
- Fast drying
- Good buildup (EOM) per coat
- Sharp Printing Shoulders - Blue color
- Good see-through registration
- Easy inspection on white and dyed mesh - Special wetting agents
- Excellent coatability
- Forgiving of poor fabric preparation
COLOR : Light Blue
SOLIDS : 37%
SENSITIZER : Diazo Dual Cure
SOLVENT RESISTANCE : Complete
WATER RESISTANCE : WB-UV
305 MESH 1K MH SPEED (EST.) : 190 seconds
305 MESH 5K MH SPEED (EST.) : 38 seconds
- Step 1: PREPARE THE FABRIC
Used or surface treated fabric need only be degreased using Screen Degreaser Liquid No. 3 or dilute Screen Degreaser Concentrate No. 33. (Mechanical roughening is an option for new fabric that is not surface treated. It increases the surface area of fabric for a better mechanical bond of the stencil, increasing printing run length. Use Microgrit No. 2 before degreasing. Roughening and degreasing can be combined in one step with Ulanogel 23.)
- Step 2: SENSITIZE THE EMULSION
Proclaim is partially sensitized; therefore, it must be handled under yellow light. Dissolve the diazo sensitizer powder by adding lukewarm water up to the shoulder of the bottle. Shake well. Wait 15 minutes for bubbles to disperse. Pour the fully dissolved sensitizer into the emulsion. Stir with a clean, broad, flat plastic or stainless steel instrument until the emulsion is uniform in color. Close the container. Wait at least one hour for the emulsion to de-bubble. Write the date of sensitizing on the label.
- Step 3: COAT THE SCREEN
Method 1: Apply one coat of emulsion to the printing side, then one coat on the squeegee side. Dry the screen thoroughly. Method 2: Apply two coats on the printing side, then two coats on the squeegee side, wet-on-wet. After each coating, rotate the screen 180°. Dry the screen thoroughly. Method 3: Follow Method 2. Then, after drying the screen, apply two additional coats on the printing side, wet-on-wet. Dry the screen again. Method 3 optimizes the definition of printed edges.
- Step 4: DRY THE SCREEN
Dry multicoated screens (Methods 2 or 3) thoroughly in a horizontal position, printing side down, at room temperature in a dirt- and dust-free area. Use a fan to accelerate the drying. Avoid high humidity. Under humid conditions, dry the coated screen with warm, filtered air up to 104° F. (40° C.) in a commercial dryer. Use a dehumidifier in the drying area, if possible.
- Step 5: CALCULATE THE APPROXIMATE EXPOSURE TIME
From the Base Exposure Table below, select the type of light source you have and its wattage or amperage. The exposure times indicated are for 305/inch (120/cm.) white fabric at an exposure distance of 40 inches (= ca. 1 meter), using coating Methods 1, 2, or 3. The exposure time shown for the light source and coating method being used is the Base Exposure Time. Multiply the Base Exposure Time by all relevant Exposure Variable Factors (table, below) to find the Approximate Exposure Time.
- Step 6: DETERMINE THE OPTIMAL EXPOSURE TIME
Make a Step Wedge Test (instructions can be found in the Ulano Direct Emulsions Technical Data Booklet) or use the Ulano Exposure Calculator Kit—carried through to actual printing—to determine your optimum exposure time. Optimum exposure is indicated: ■ At that exposure time when the emulsion first reaches its maximum color density, and the edges of the positive do not "resolve." ■ The squeegee side emulsion is hard, not soft or slimy. ■ The print best duplicates the test positive at the level of resolution that the job requires.
- Step 7: WASHOUT
Wet both sides of the screen with a gentle spray of cold water. Then spray the printing side forcefully until the image areas clear. Rinse both sides with a gentle spray until no soft emulsion is left on the squeegee side, and no foam or bubbles remain. Blot excess water from the printing side with unprinted newspaper stock.
- Step 8: BLOCKOUT & TOUCHUP
Blockout Option 1: Before drying and exposure, use excess emulsion from the coating step to cover the blockout area. Blockout Option 2: For non-water-based inks, after exposure and washout, dry the screen. Apply Screen Filler No. 60 or Extra Heavy Blockout No. 10. Touchup Option 1: Use excess emulsion and re-expose the screen. Touchup Option 2: For non-water-based inks, use Screen Filler No. 60 or Extra Heavy Blockout No. 10 thinned with water.
- Step 9: STENCIL REMOVAL
Remove ink from the screen using the solvent or solvent blend recommended by the ink manufacturer. Use Screen Degreaser Liquid No. 3 to help remove ink and solvent residues that might impair the action of the stencil remover. Brush Stencil Remover Liquid No. 4 or Stencil Remover Paste No. 5 on both sides of the screen. Do not let the stencil remover dry on the screen. Wash the screen with a forceful spray of water. Use Haze Remover No. 78 or Ghost Remover with Ghost Remover Activator to remove ink and haze residues, if necessary.
