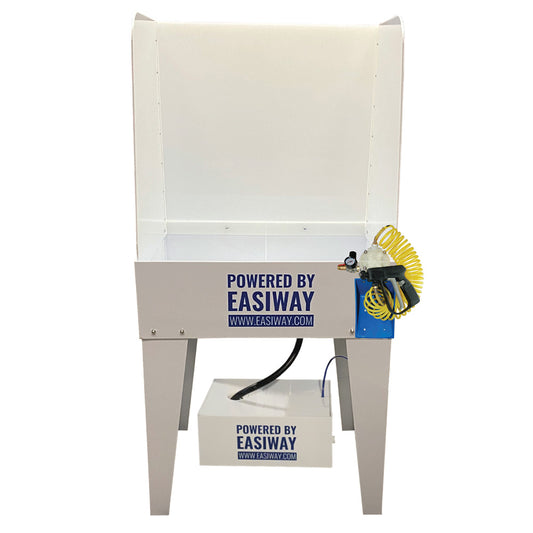
Often Purchased With
-
Calculateur d'exposition
RS1500APrix habituel $1,895.00 CADPrix habituelPrix unitaire par -
EDF 100 - Unité de filtre de vidange 12" x 24" x 12"
E-RECIRCPrix habituel $2,320.00 CADPrix habituelPrix unitaire par -
EDF 100 - Unité de filtre de vidange 12" x 24" x 12"
KDBOOTHE32Prix habituel $1,100.00 CADPrix habituelPrix unitaire par
Additional Information
-
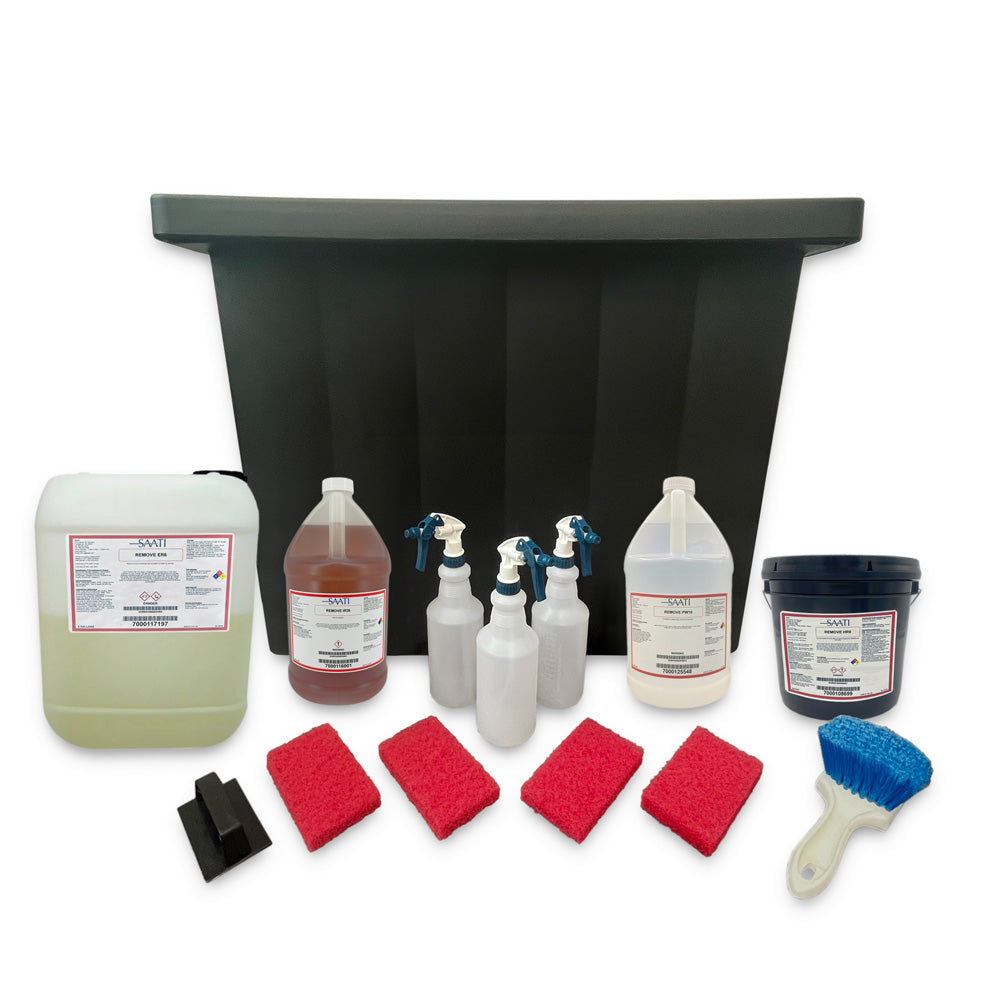
Dip Tank (Learn More)
-
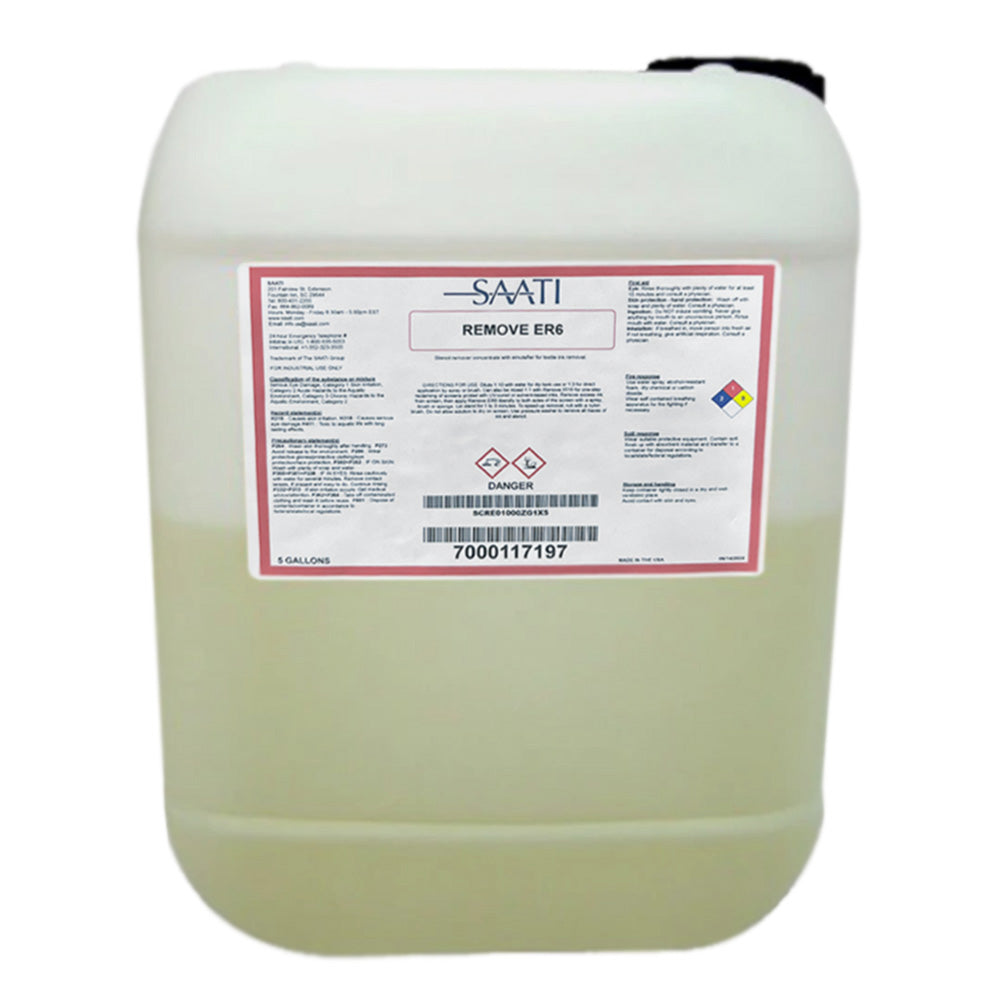
Dip Tank Emulsion Remover Solution (ER6) - 5G (Learn More)
-
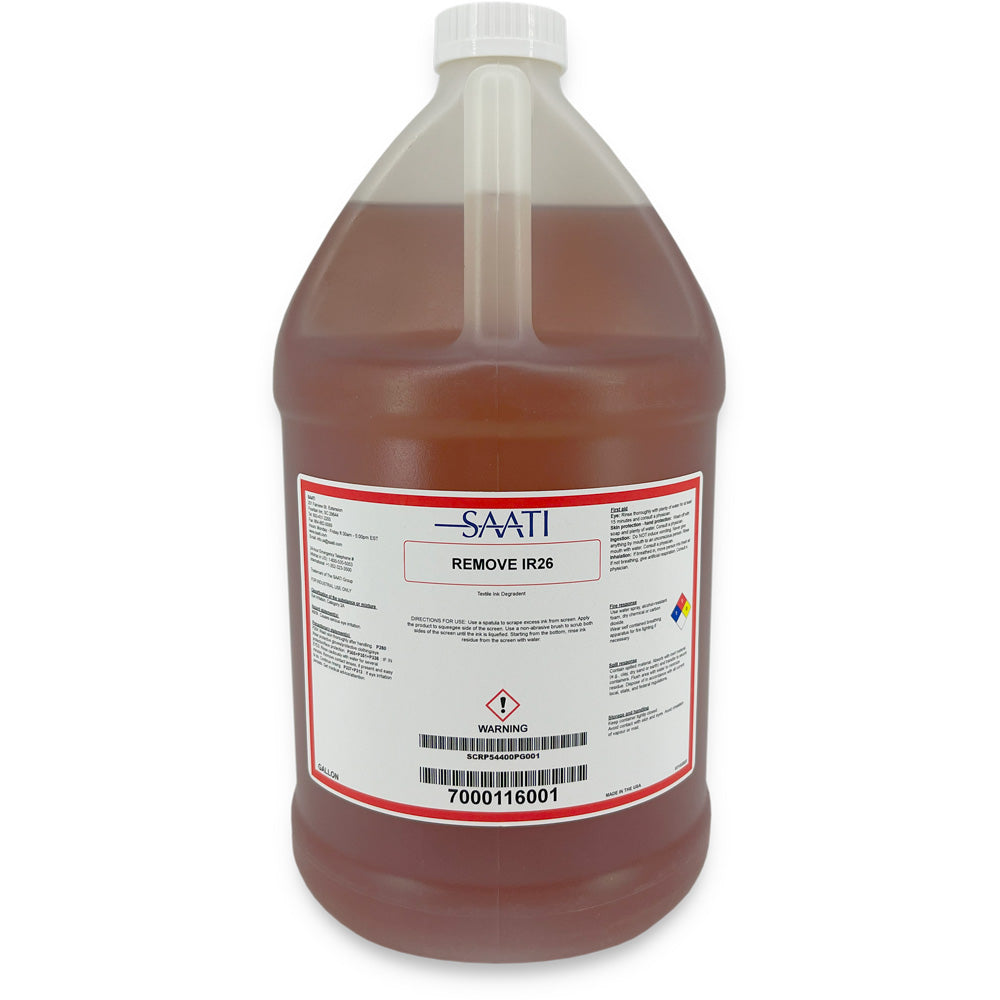
Ink Remover (IR26) - 1G (Learn More)
-
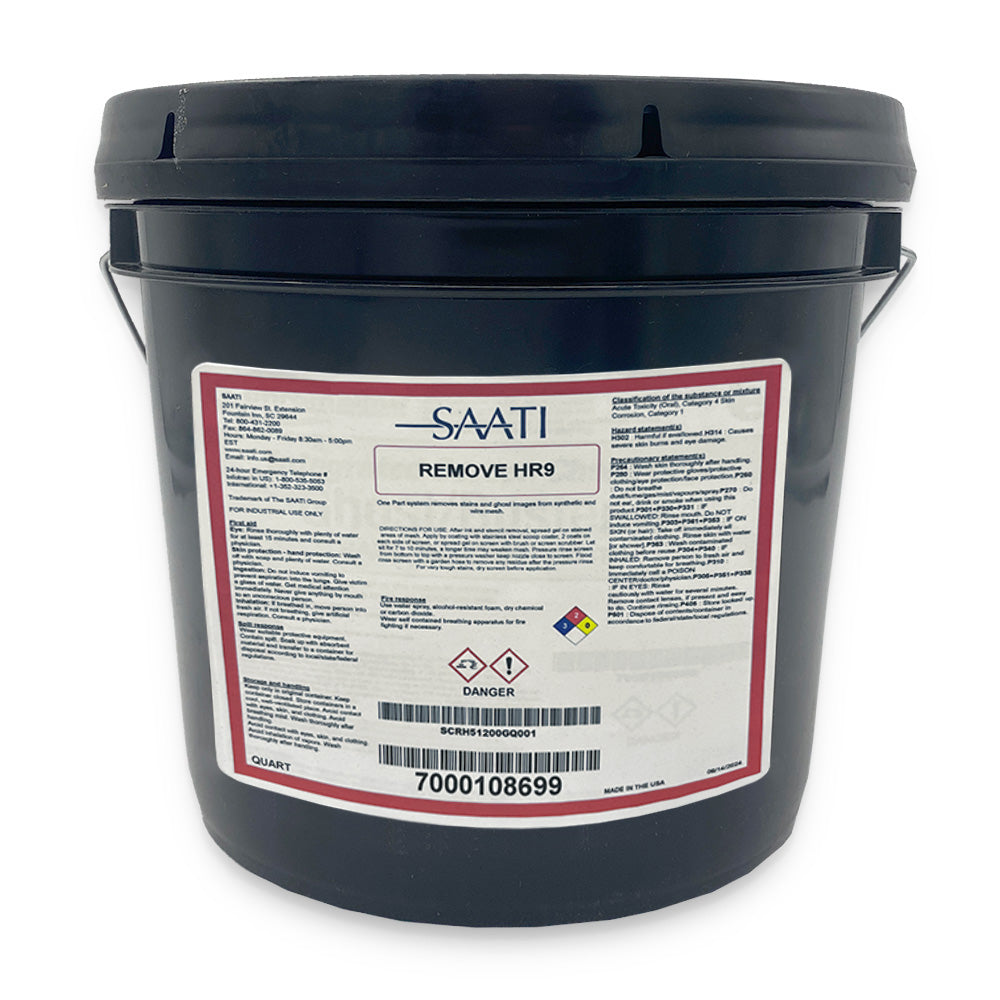
Haze Remover (HR9) - 1G (Learn More)
-
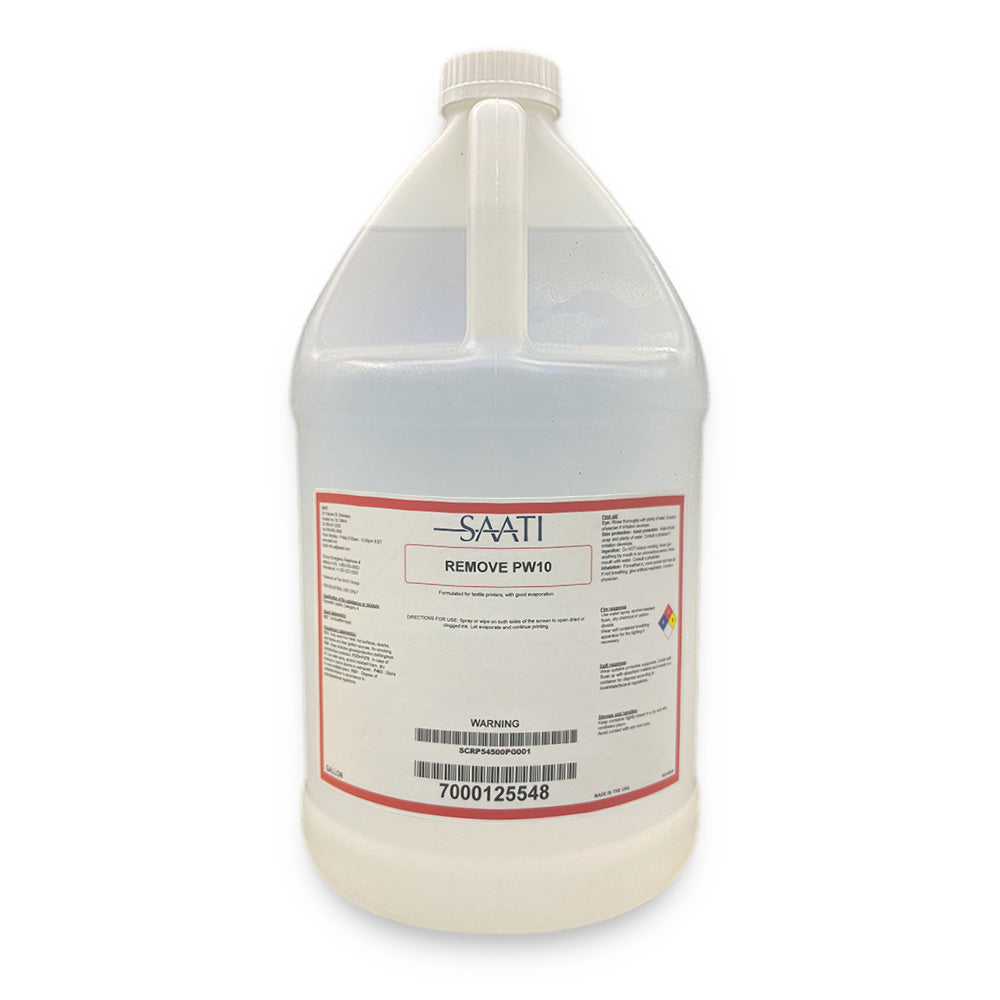
Press Wash (PW10) - 1G (Learn More)
-
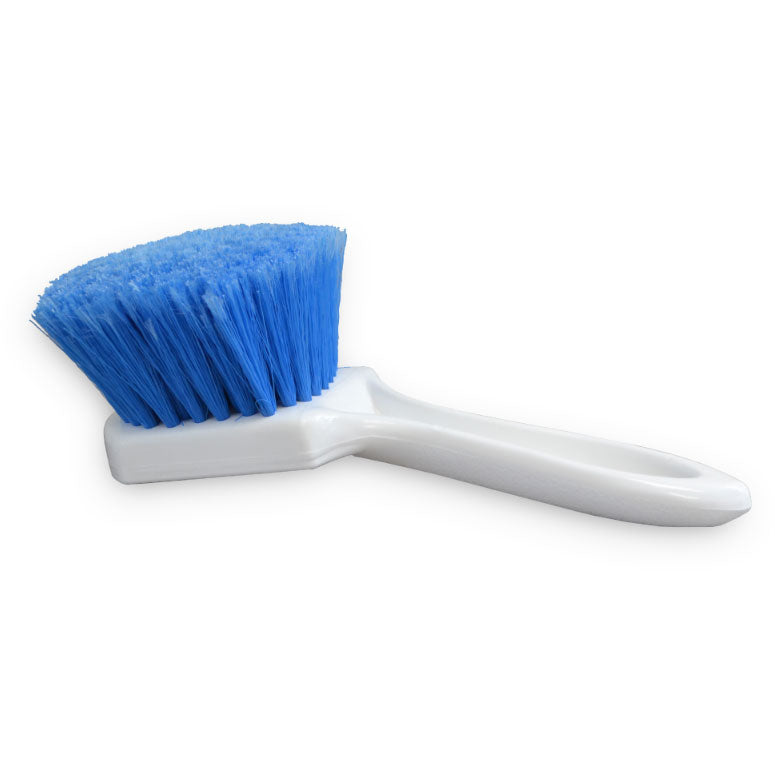
Poly Brush - x1 (Learn More)
-
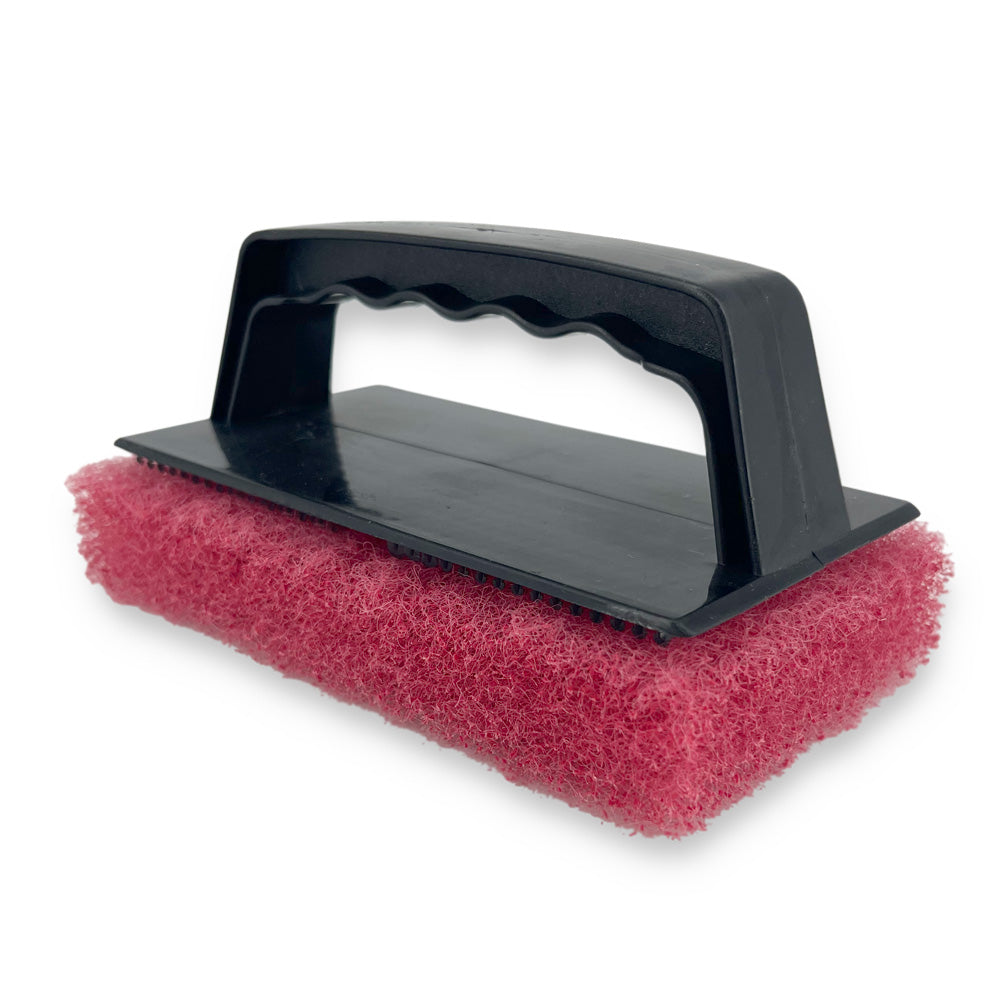
Scrub Pad Handle - x1 (Learn More)
-
Scrub Pad - x4 (Learn More)
-
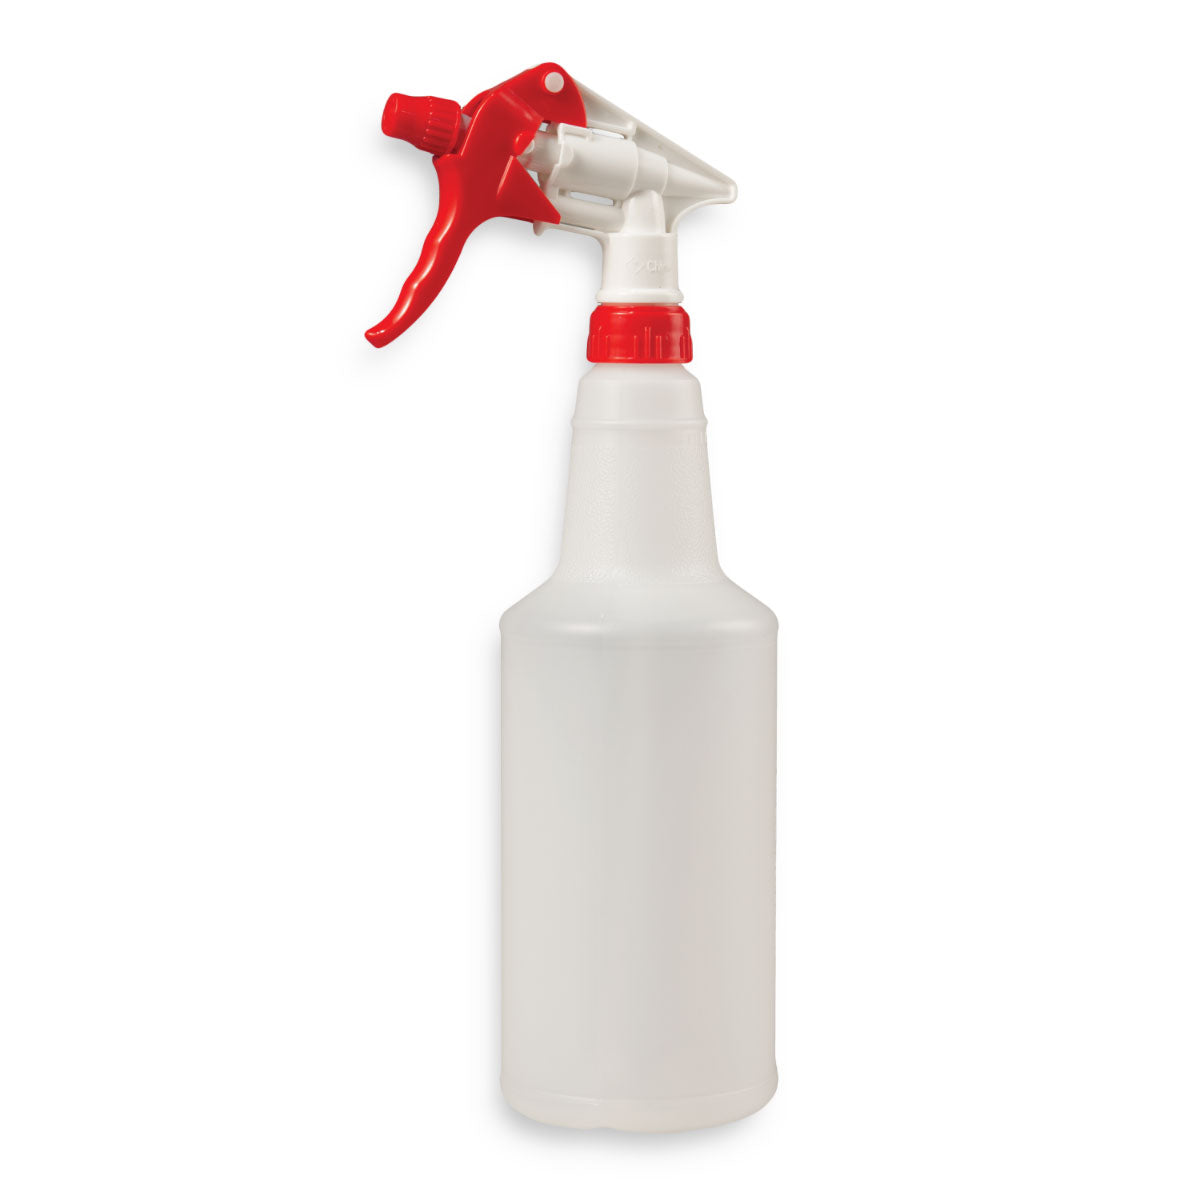
32oz Spray Bottle w/ Trigger - x3 (Learn More)
Step 1: Assembly
- Find the white, plastic on-off spigot that is included. This should be attached to the inner wall in a sealed, plastic bag.
- Turn the tank on its side and insert the threaded end of the spigot into the female receptacle located on the bottom end of the tank.
- DO NOT OVER TIGHTEN. Usually 2-3 rotations of the spigot are all that is necessary to seal the threads. If the spigot is over tightened, the spin fitting will crack causing the tank to leak. When this is completed turn the tank upright and move to the location where it will be situated.
Step 2: Filling the Tank
- When the tank has been situated (generally, you would place the tank within close proximity of the washout booth where the screens will be water rinsed) you need to begin filling the tank with water. You will want to add water first and then chemical. Water added to chemical will cause foaming. It is advisable to check the spin fitting/spigot assembly for leaks when the water level reaches that part of the tank.
- When the water level fills about 2/3 of the tank, you will add Remove ER6 Emulsion Remover.
- Simply mix 7.5 gallons/28 liters of Remove ER6 Emulsion Remover with 29.5 gallons/111 liters of water.
Step 3: Reclaiming Screens
- Option 1 (Not Removing The Ink Before)
1) Light Spray IR26 cut 50/50 on both sides of the screen, brush and rinse
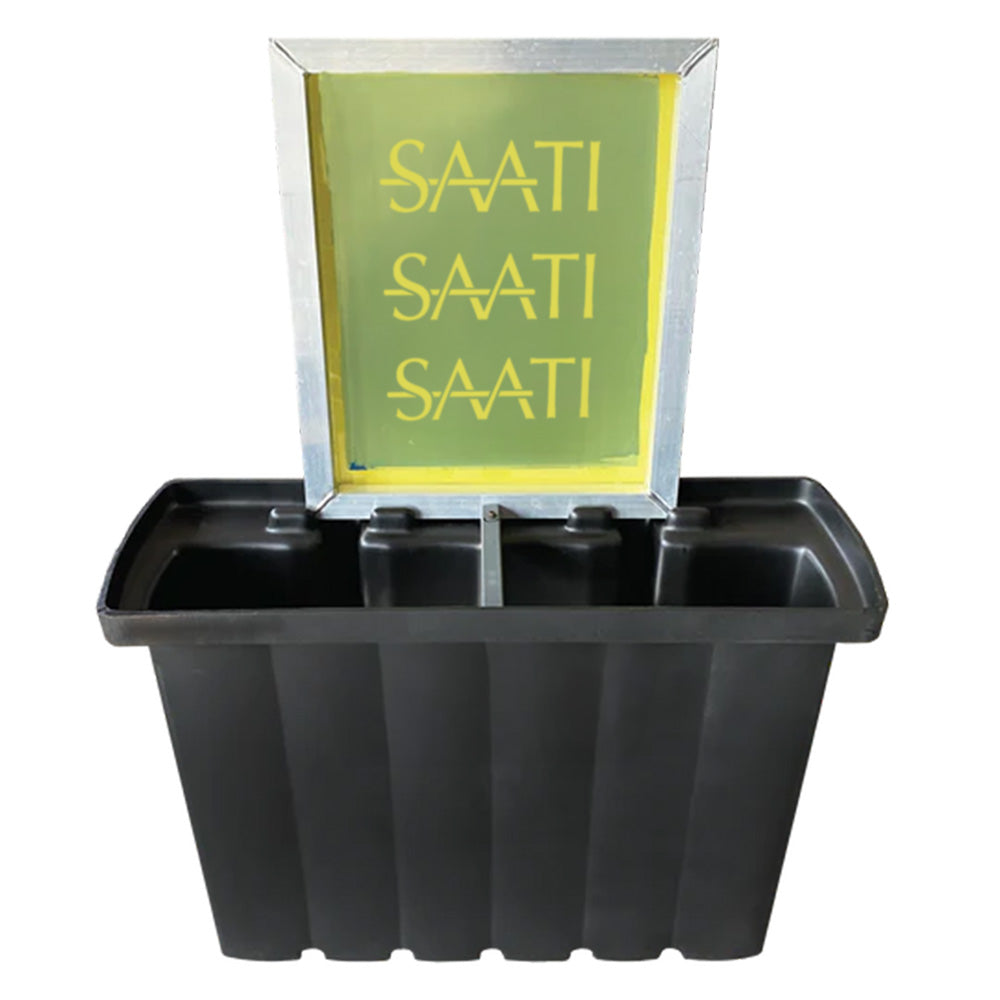
2) Place the screen into the dip tank for approx 1 minute, then lift and allow to drain back into the tank
3) Pressure wash both sides of the screen, making it free of emulsion
4) Re-Apply the IR26 cut 50/50 to the stained area, and using a clean brush work it in and High Pressure rinse
5) Apply Direct Prep to a wet screen, brush it in well and low pressure rinse.
6) Dry your screen - it will then be ready for reuse
- Option 2 (Removing The Ink Before)
1) Scrap as much of the ink out as possible, and place the screen in the Dip Tank.
2) Place the screen into the dip tank for approx 1 minute, then lift and allow to drain back into the tank
3) Pressure wash both sides of the screen, making it free of emulsion
4) Apply IR26 strait or HR9 to the stained area, and using a clean brush work it in and High Pressure rinse.
5) Apply Direct Prep to a wet screen, brush it in well and low pressure rinse.
6) Dry your screen - it will then be ready for reuse
- Volume: 25 Gallons
- Outside Tank Dimensions without lid: 37" W x 13" D x 28" H
- Outside Tank Dimensions with lid: 38" W x 14" D x 29" H
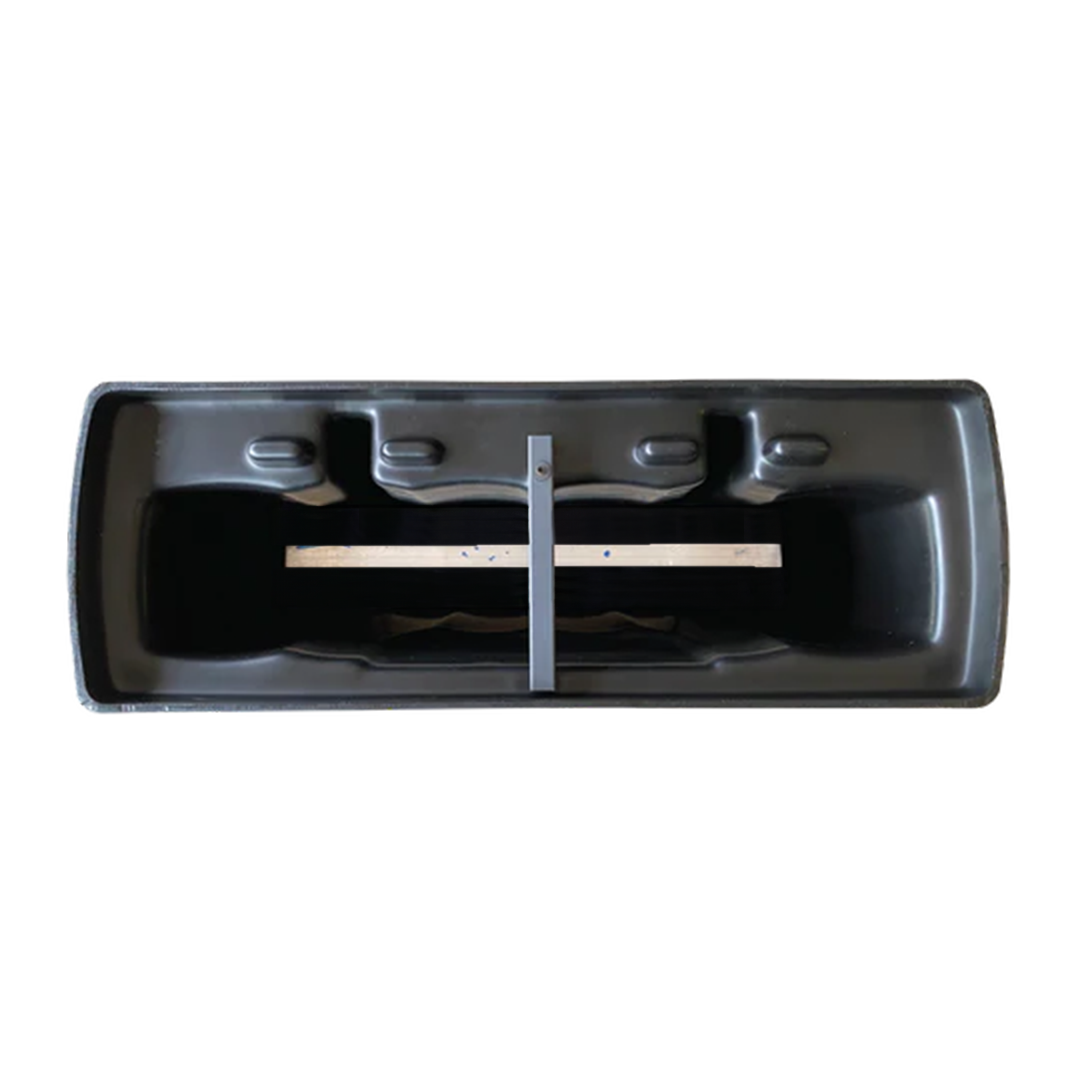
- Inside Dimensions: 33" W x 7" D x 24.75" H
- Weight: 37.0 lbs
1:10 - Chemical to Water Ratio Using ER6
- PT525 (25 Gallon Dip Tank)
- 4 gallons of ER6
- Up to 21 Gallons of Water
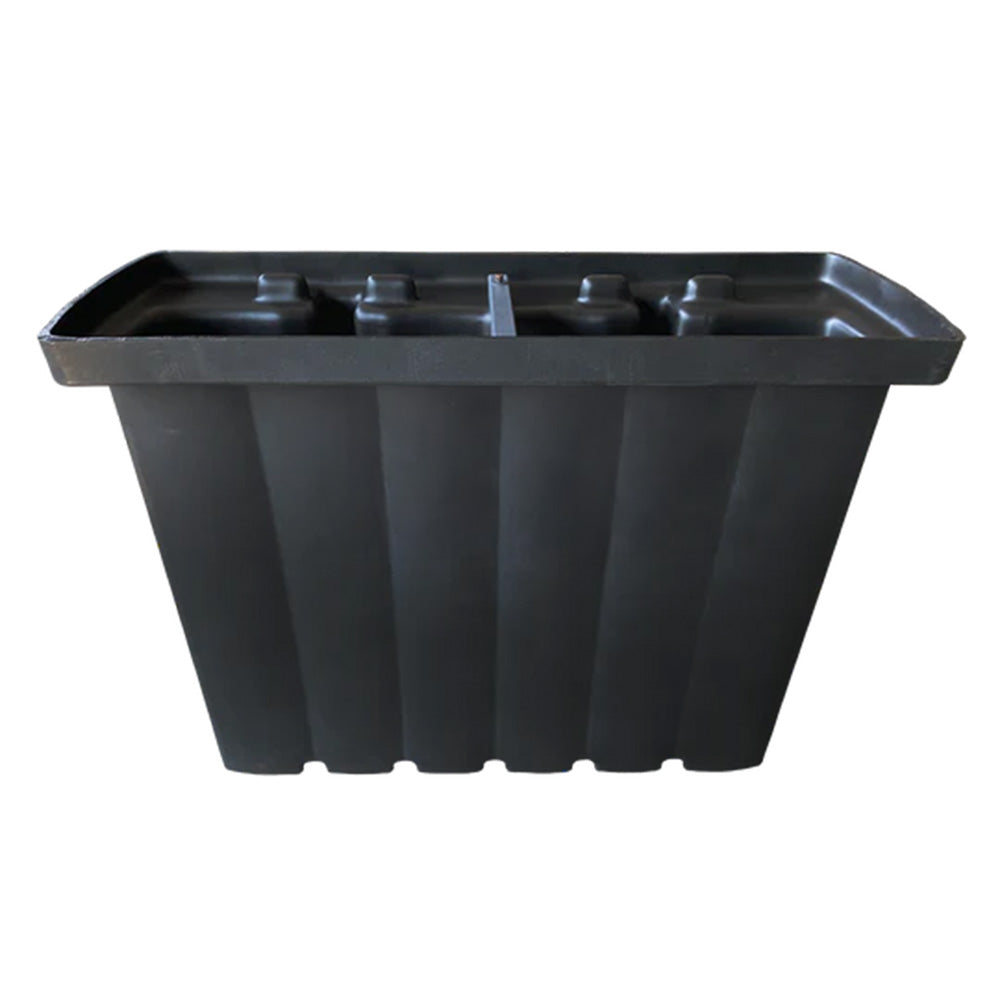
- Dip Tank
- Threaded Drain Fitting
- Built-in drip ledge
- Built-in screen hold-down bar
- Sludge catch molded into the bottom of the tank
Note: Lid not included and no longer manufactured
Is the Réservoir d'immersion (écrans jusqu'à 24x33) avec barre de maintien right for you?
Enter your info below and a RB Digital sales representative will contact you about adding the Réservoir d'immersion (écrans jusqu'à 24x33) avec barre de maintien to your apparel decorating business.
