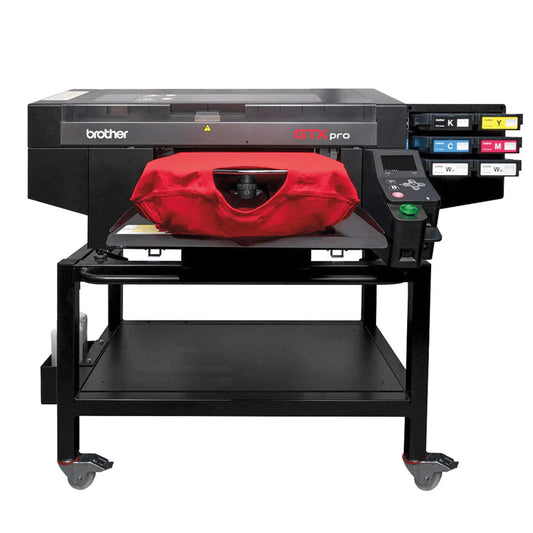
Brother
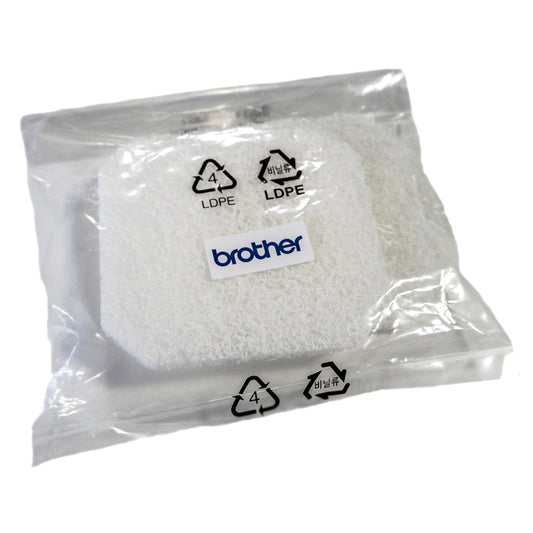
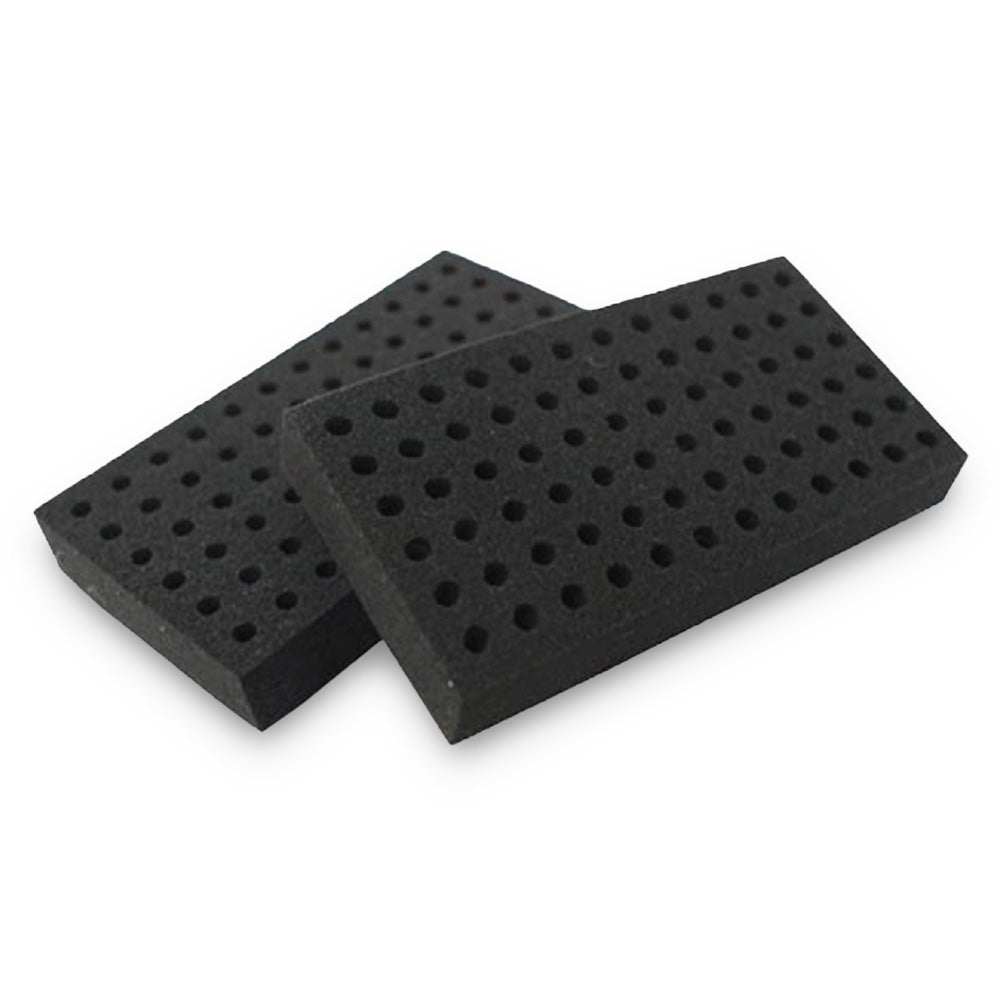
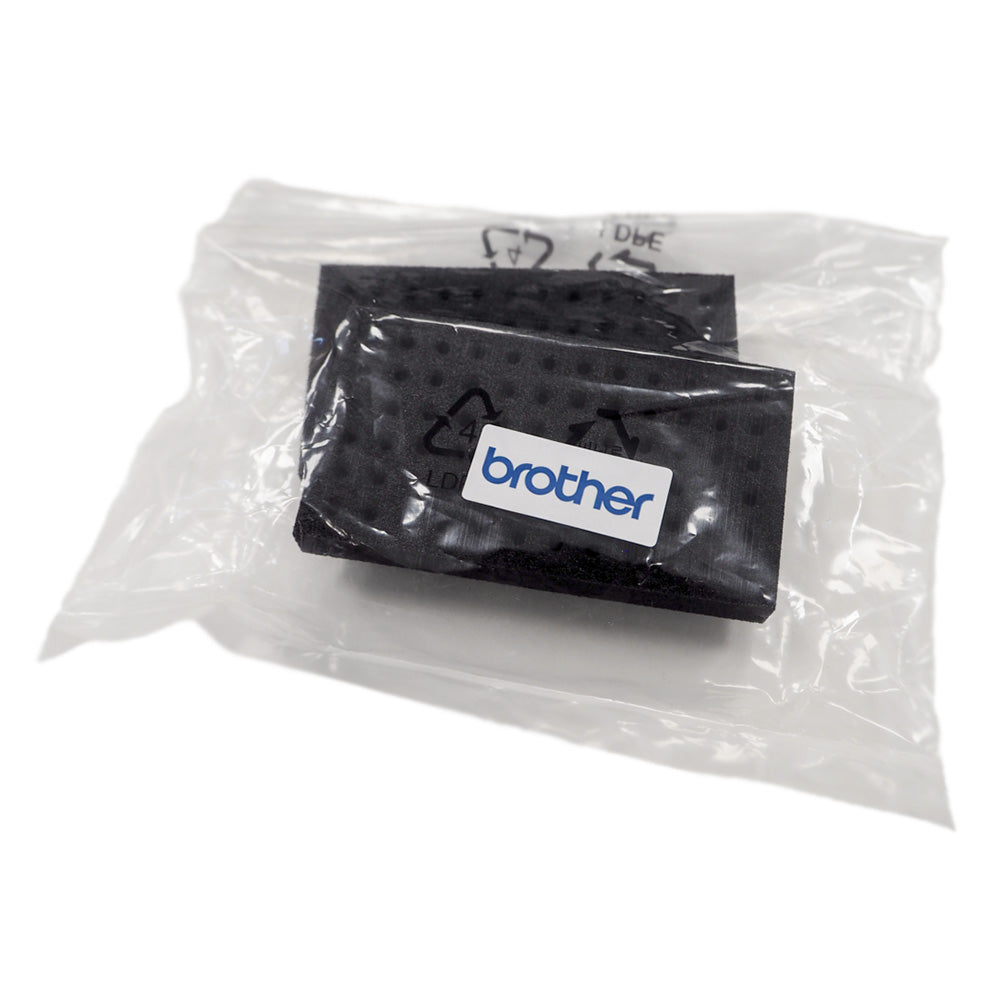
GTX - Flushing Foam
GTX - Flushing Foam - 2 per pack / GTX
SKU:
WIPER CLEANER REPLACEMENT PROCEDURE:
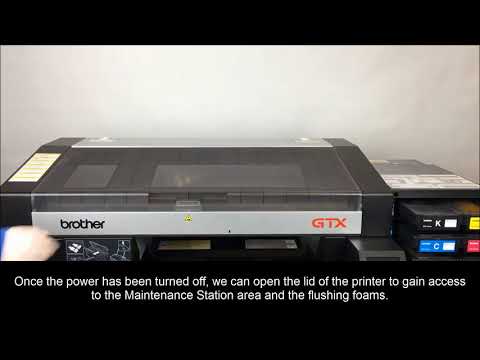
Always use the following menu option before powering off to perform cleanings or replace parts:
1. Press Menu → Maintenance → Maintenance Part Clean/Replace → OK.
2. Make sure the printer is in a powered off state and the carriage is moved out of the maintenance area to make space for you to complete the tasks correctly.

- All tasks must be completed within 15 minutes to avoid the print heads drying.
- If the task is going to take longer than 15 minutes, power the printer back on and let it run through its normal startup operations. Once completed, then go back into the "Maintenance Part Clean/Replace" procedure before powering off and continuing your maintenance tasks.
3. To prevent ink droplets from dropping from the flushing receiver hole, place a waste cloth against the bottom surface and lift the flushing receiver vertically to remove it.

4. Remove the flushing receiver from the maintenance unit. Since the flushing receiver is out of the machine now is the time to replace the flushing foam.
5. From the flushing receiver, remove the flushing foam.

6. Use a waste cloth and wipe away any dirt or debris from the outside areas of the flushing receiver and any ink debris accumulated therein.
- If any ink debris or dust is accumulated on the outside areas of the flushing receiver, the print heads may become clogged or contaminated with debris, which may result in poor print quality - so be careful.
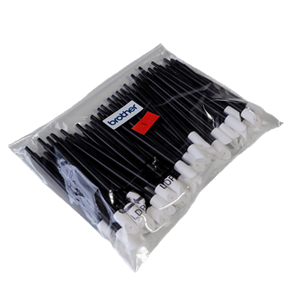
7. Use the clean stick R to clean off any ink debris attached to the hole on the bottom of flushing receiver.

8. Assemble a new flushing foam to the flushing receiver.
- GTX 422 – Flushing Foam Set - SB7006001
- GTXpro 423 – Flushing Foam Set - SC0935001
- GTXpro B 424 – Flushing Foam Set - SC0935001
9. Mount the flushing receiver back to its original place in the maintenance unit.
10. Close the front cover.
11. Turn on the power.
In stock
Couldn't load pickup availability

Often Purchased With
-
-
POPULAR
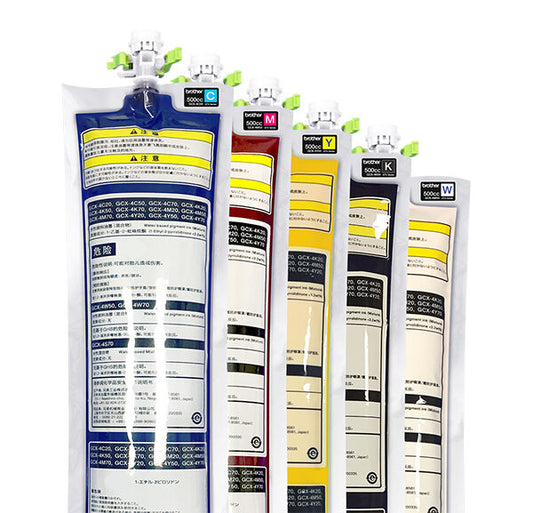
Brother GTX Inks
GCX-4C50Regular price From $250.00 CADRegular priceUnit price per -
GTX - Clean Stick R - 50 per pack
SB7008001Regular price $134.00 CADRegular priceUnit price per -
POPULAR
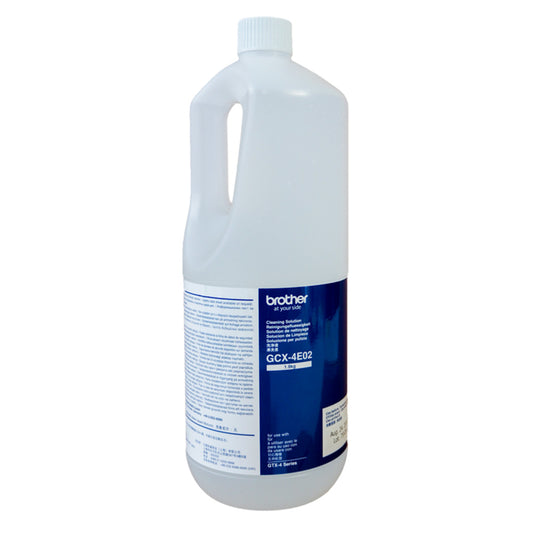
GTX - Cleaning Solution
GCX-4E02Regular price From $120.00 CADRegular priceUnit price per -
GTX - Fan Filter
SB7007001Regular price $8.00 CADRegular priceUnit price per